The Plantar Planer
A sanding power tool to aid with shoe resoling.
Did you know...
In the United States: about 300 million shoes get thrown into landfill yearly?
INTRO
Observations from the first visit to the cobbler.
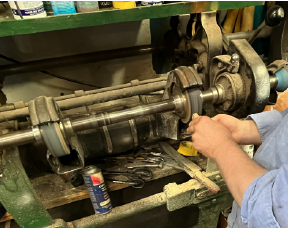
The belt sanding machine
A cobbler’s entire workspace revolves around their belt sanding machine. The machines are typically very old and are huge. They hold multiple sanding sleeves along a single spinning rod.
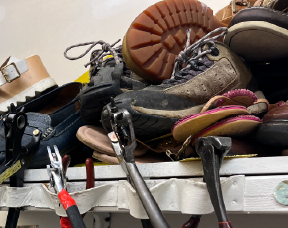
Extreme amounts of shoe waste
The cobblers complained about having to repair so many shoes and also how many shoes were of such cheap quality that their repairs made them better off to begin with. Most people do repair their shoes anymore as they are typically thrown away.

Focus on simple repairs
Given the scope of the project, a focus was placed on simple repairs and specifically sole replacement, as that is one of the less difficult repairs and one of the more common ones.
STEP BY STEP
The current dress shoe resoling process


AN ILLUSTRATION
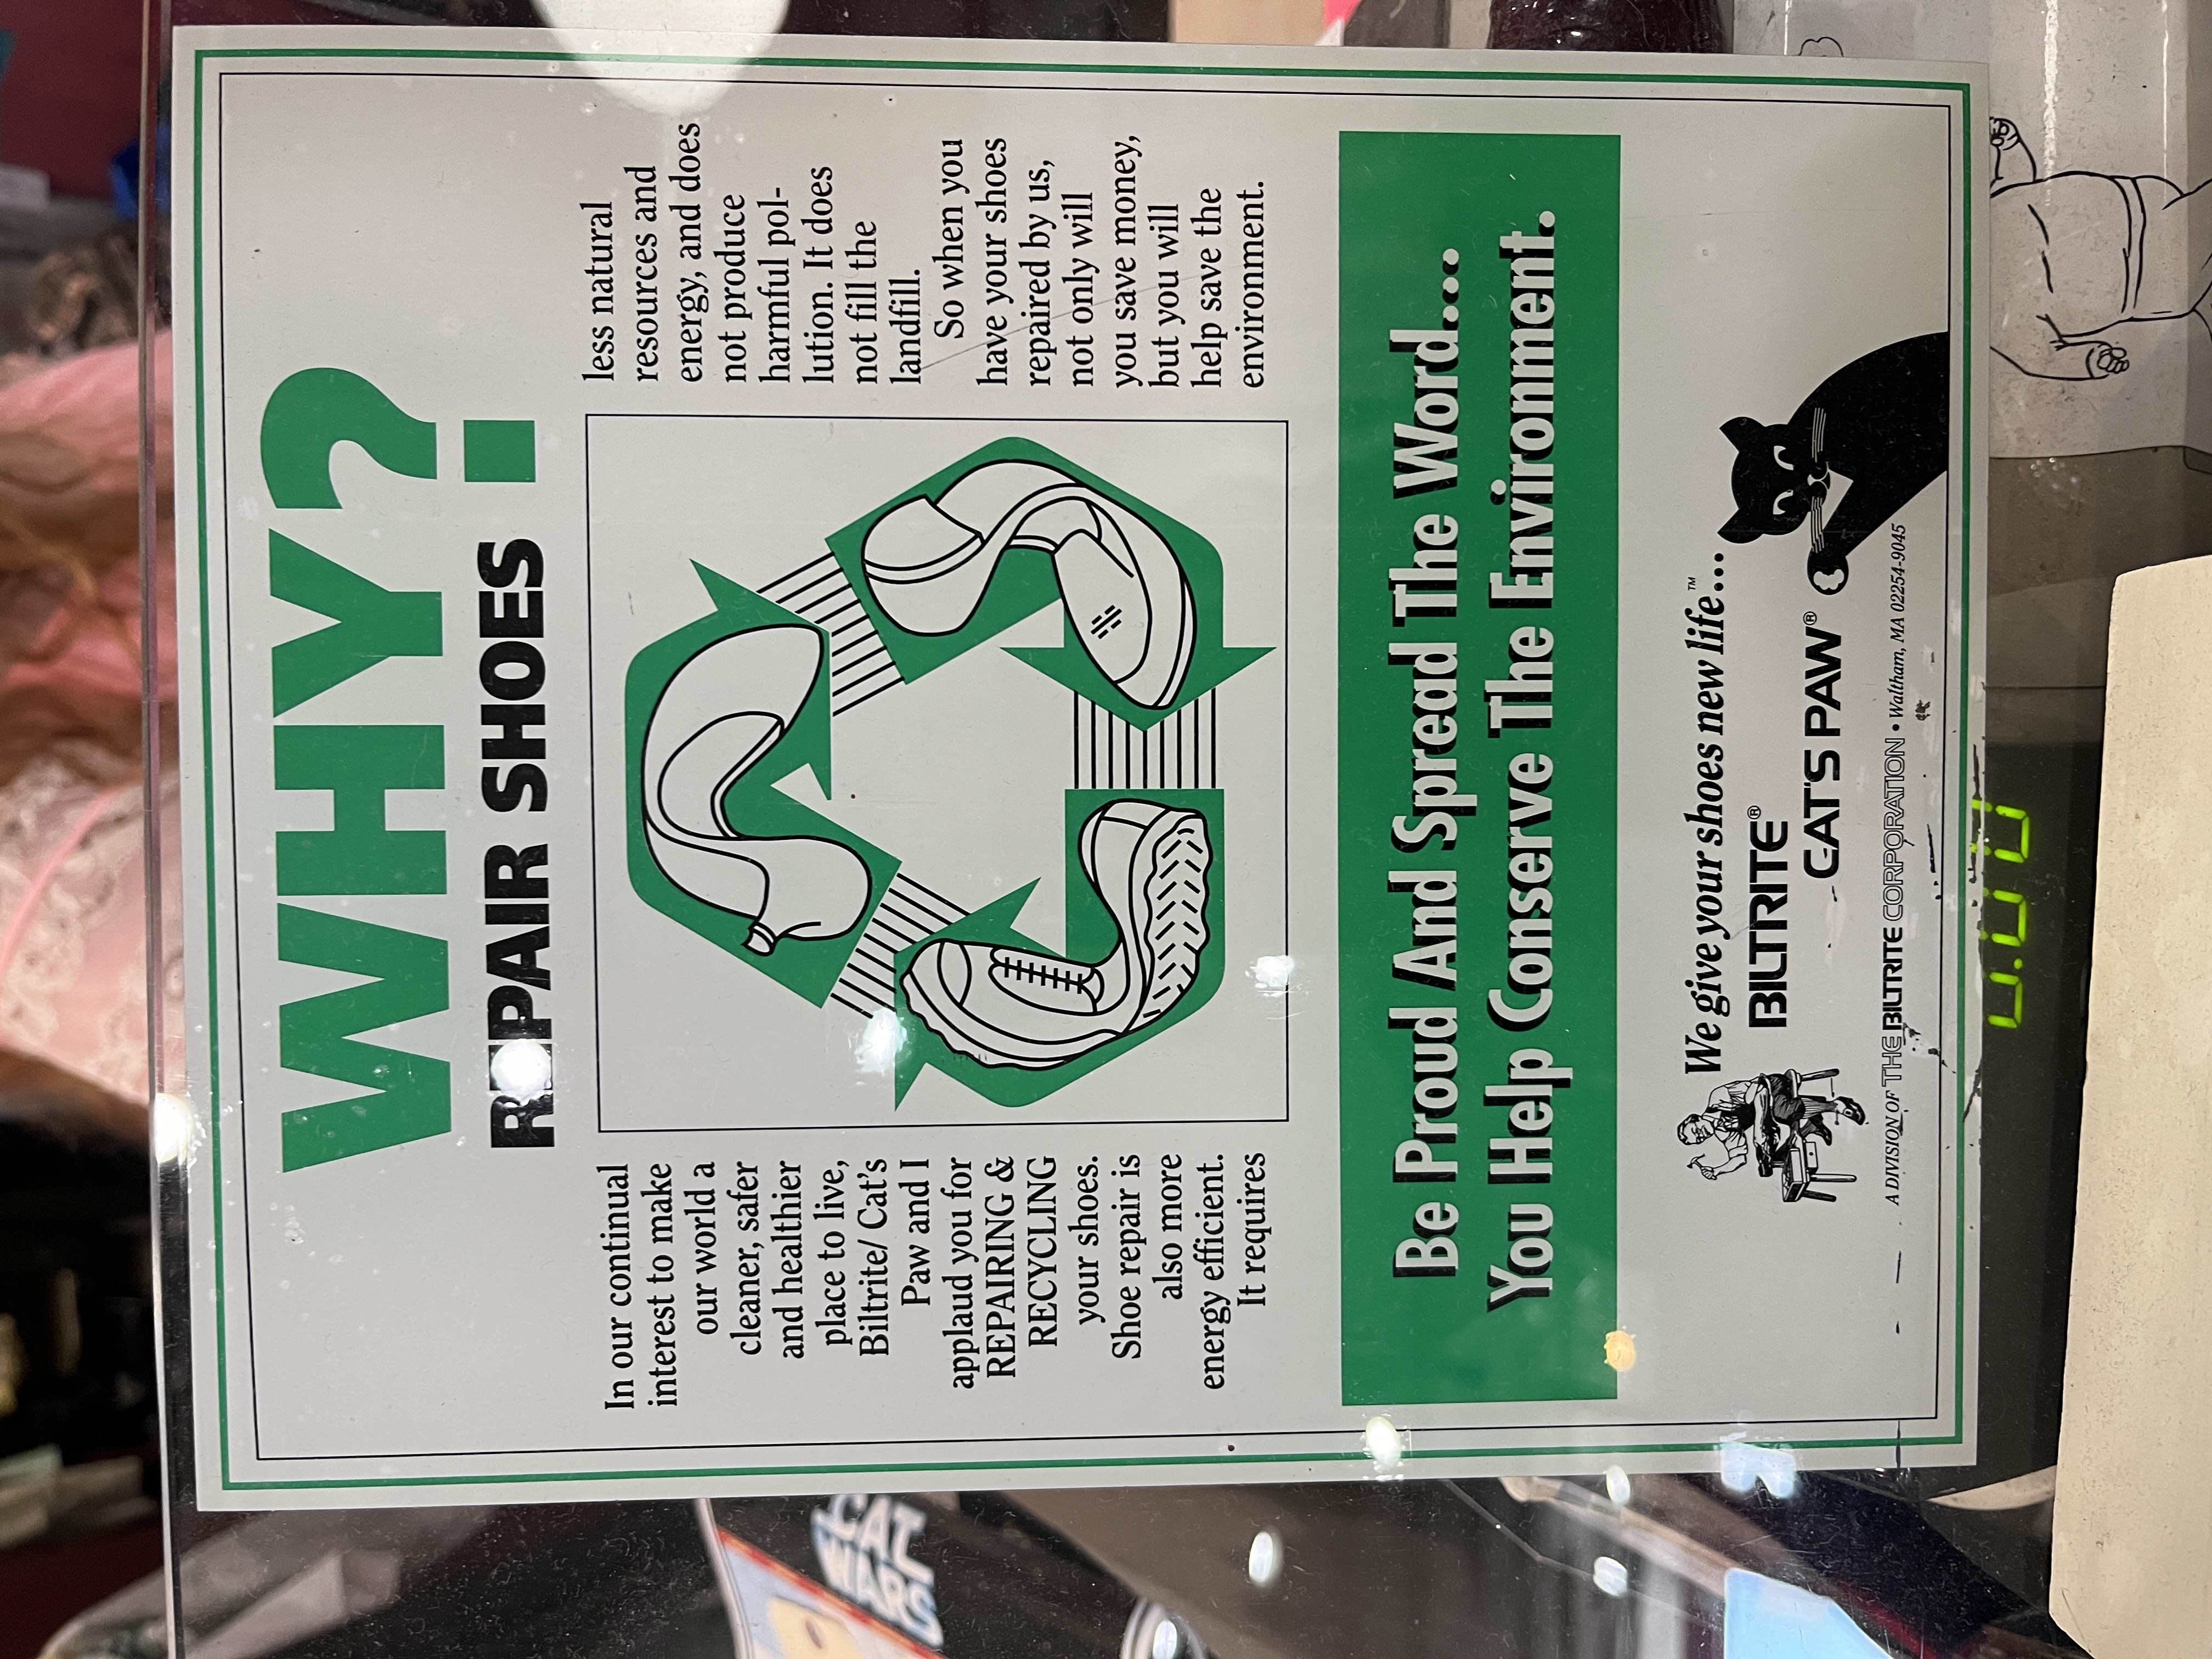
'Why Repair Shoes?' symbol
This symbol called 'Why Repair Shoes' is a recreation of the same symbol on display in Awesome Time Shoe Repair. The symbol was featured on a Cat's Paw (an old company known for manufacturing replacement soles) infographic. The symbol takes the standard recycling symbol and places different shoe types inside each arrow and distorts them to a twist.
The symbol nicely encapsulates the theme of the project, and since there was not an image to be found online for it, a recreation was produced for this project.
Project Statement:
Tailor an electric-powered sander to consumers interested in shoe repair to lower shoe waste.
THE REFERENCE TOOL
WEN’s Bandfile Belt Sander

The internals of this bandfile sander were used as a guide for the Plantar Planer’s. One of these tools were bought, taken apart, and examined for inspiration on how to lay out the Plantar Planer's components.

Developing the Plantar Planer through model-making
The majority of the project was spent creating hand-made models, sketches, and visiting the cobblers over and over again to get their input. The user's input is crucial to create a meaningful and innovative product.

PRODUCT DEVELOPMENT I
The belt-sander concept: the first models and sketches
The initial idea was to take a belt sander and put it directly in the hands of the cobbler, for a smaller workspace and more control over the sander.
.png)
.png)
The initial models
A rough model to begin the development: shortening and thickening the belt for a broadened sanding surface.

During the second visit...
The cobbler thought the model was 'good' but seemed mostly uninterested with the product. They did not spend much time looking at or holding the model. This drove the development to go back to the drawing board, changing the mechanism slightly.
Models 2-4 - belt exploration
Experimentation with a tri-anchored belt, dual-handed operation, and a 'pry off' blade at the top. Did not pursue any of them because they interfered too much with an already powerful tool.
3D-printed tops were modeled in ZBrush to swap out and use the same handle.

PRODUCT DEVELOPMENT II
The spindle-sander concept: further exploration
The concept shifted to a spindle sander, the same mechanism taken from that tabletop variation seen in build labs and model shops.
Model #5 - handle layout
A lot of sketching for a 'sanding wand': a hand-held spindle sander. The only surviving part of this model was the handle, which only changed in diameter for the project's remainder.
.png)
.png)
.png)
.png)
.png)
.png)
PRODUCT DEVELOPMENT III
The planer concept: rotating the spindle
Looking at planer tools, a new direction was headed to rotate the spindle to be at a horizontal orientation rather than a vertical one.

The guard served as protection of flinging debris from the user but also as a pivoting surface for the user to adjust how deep the sanding sleeve would dig.

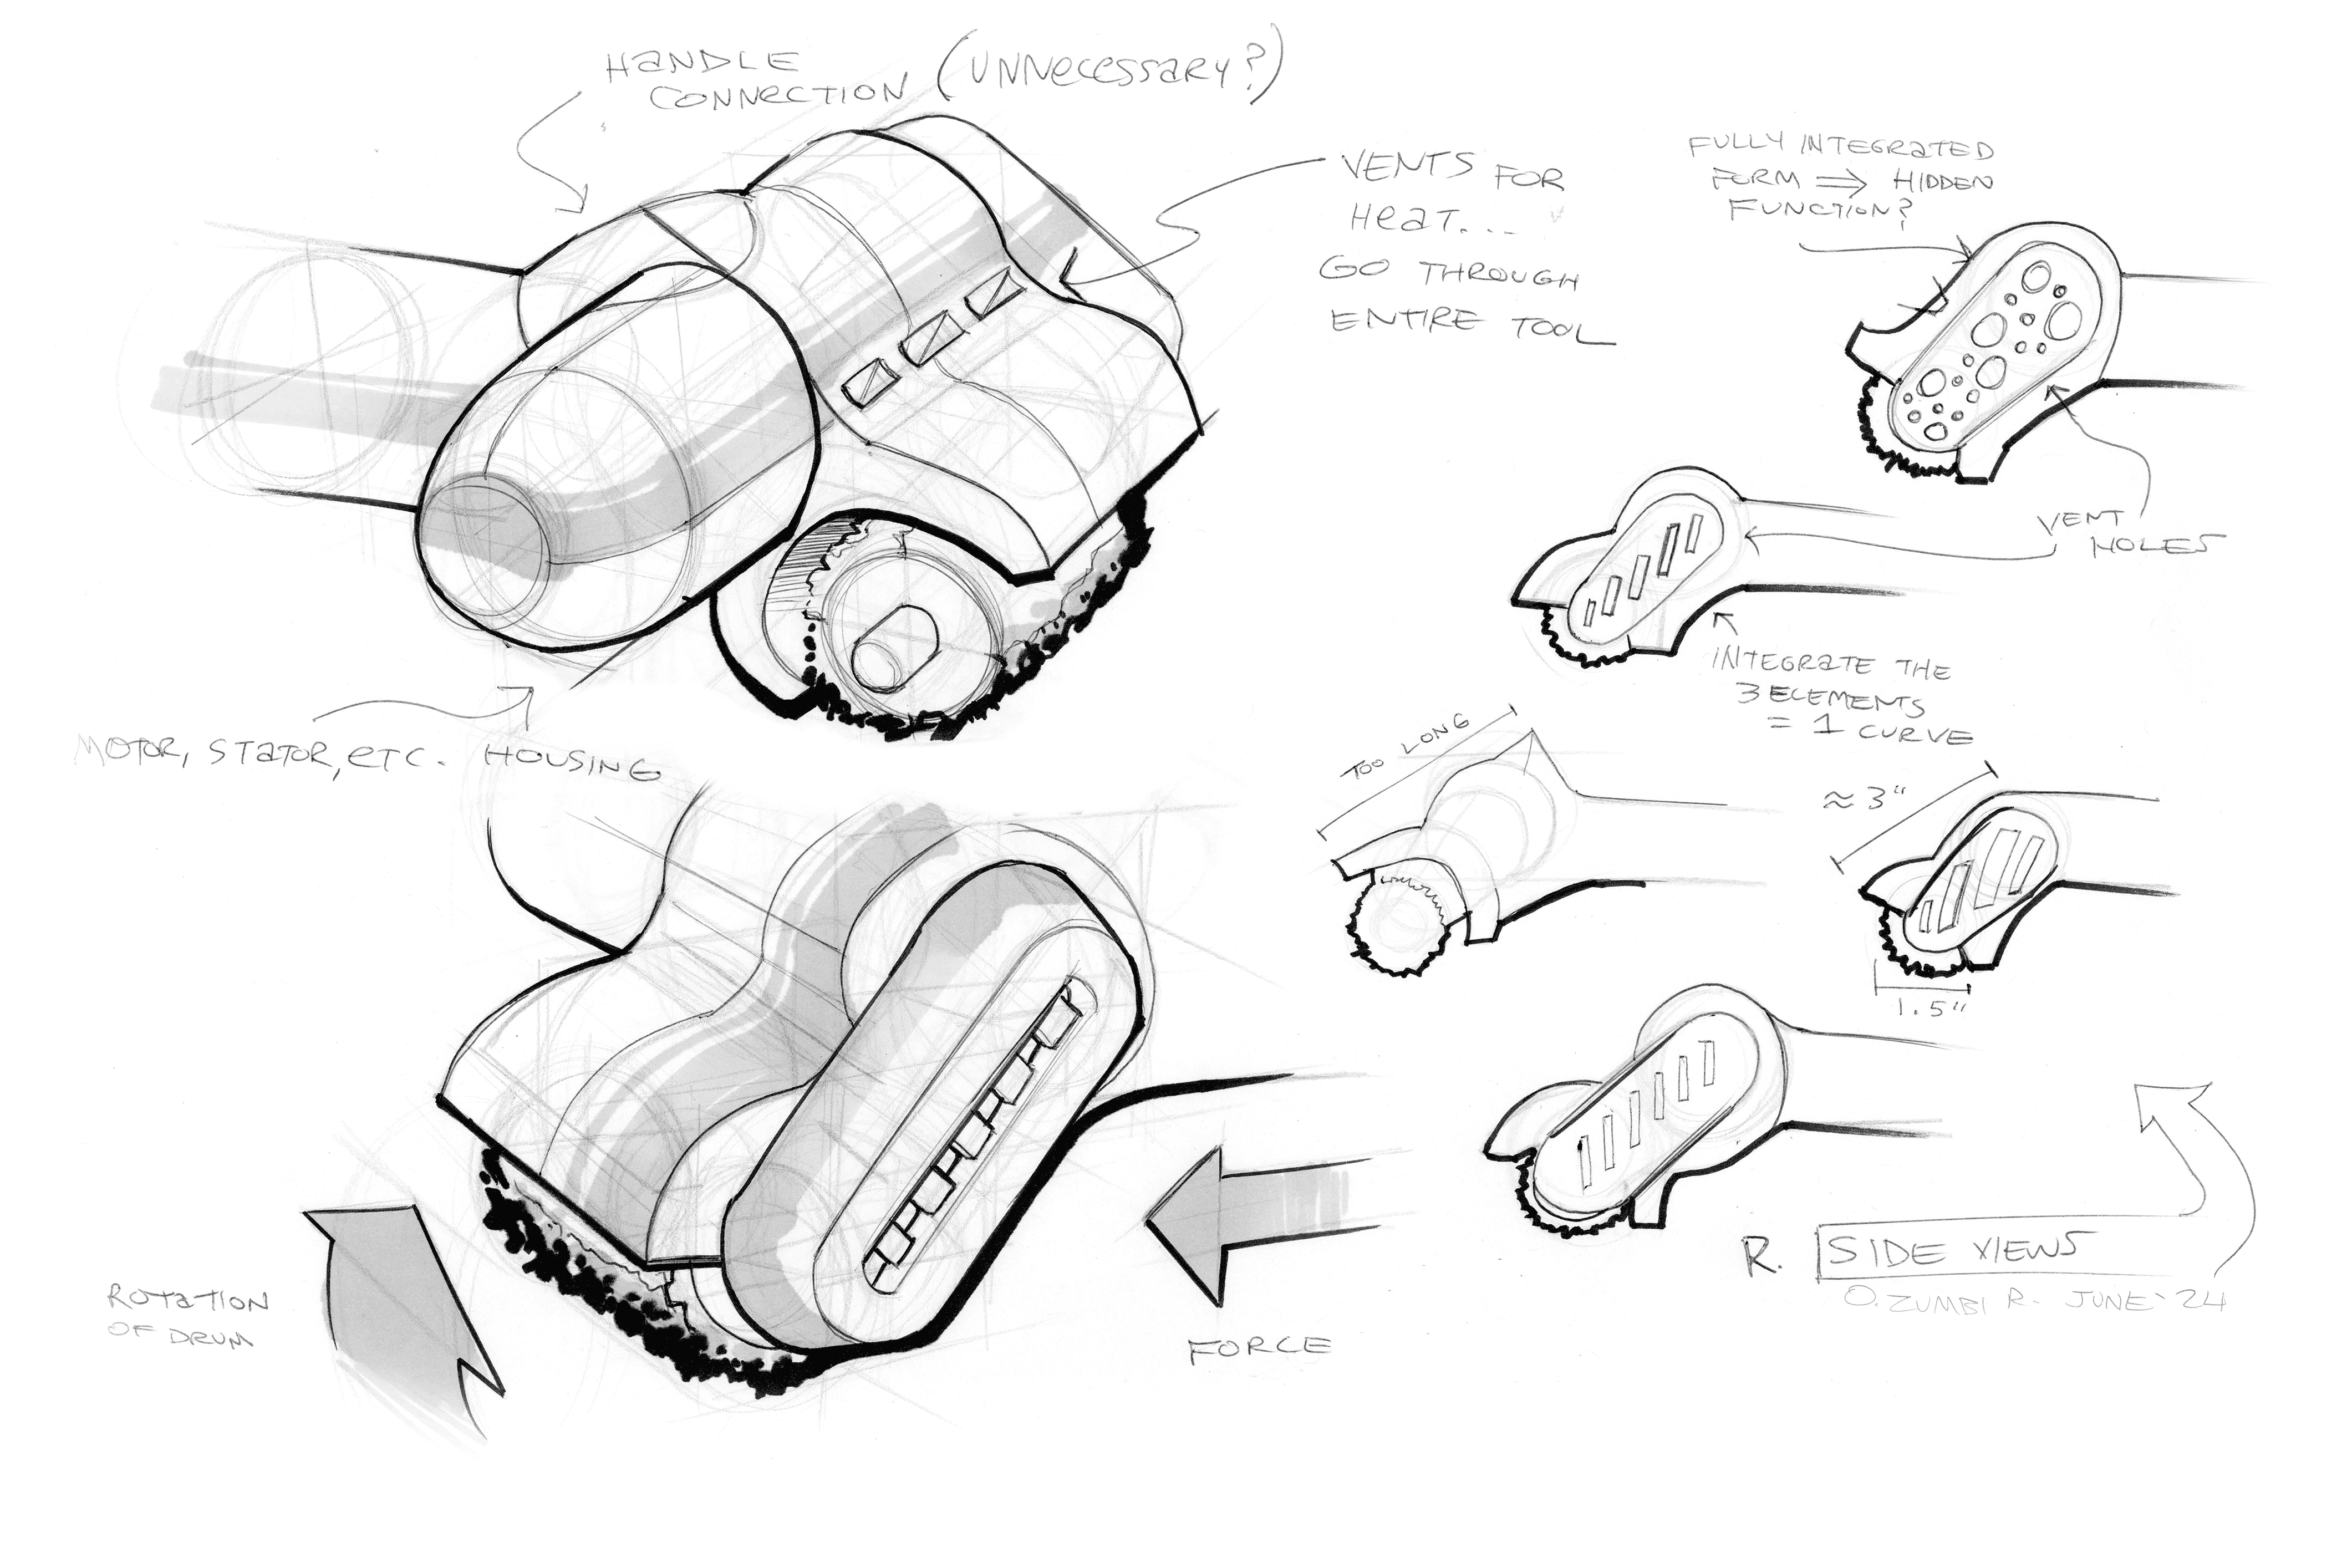
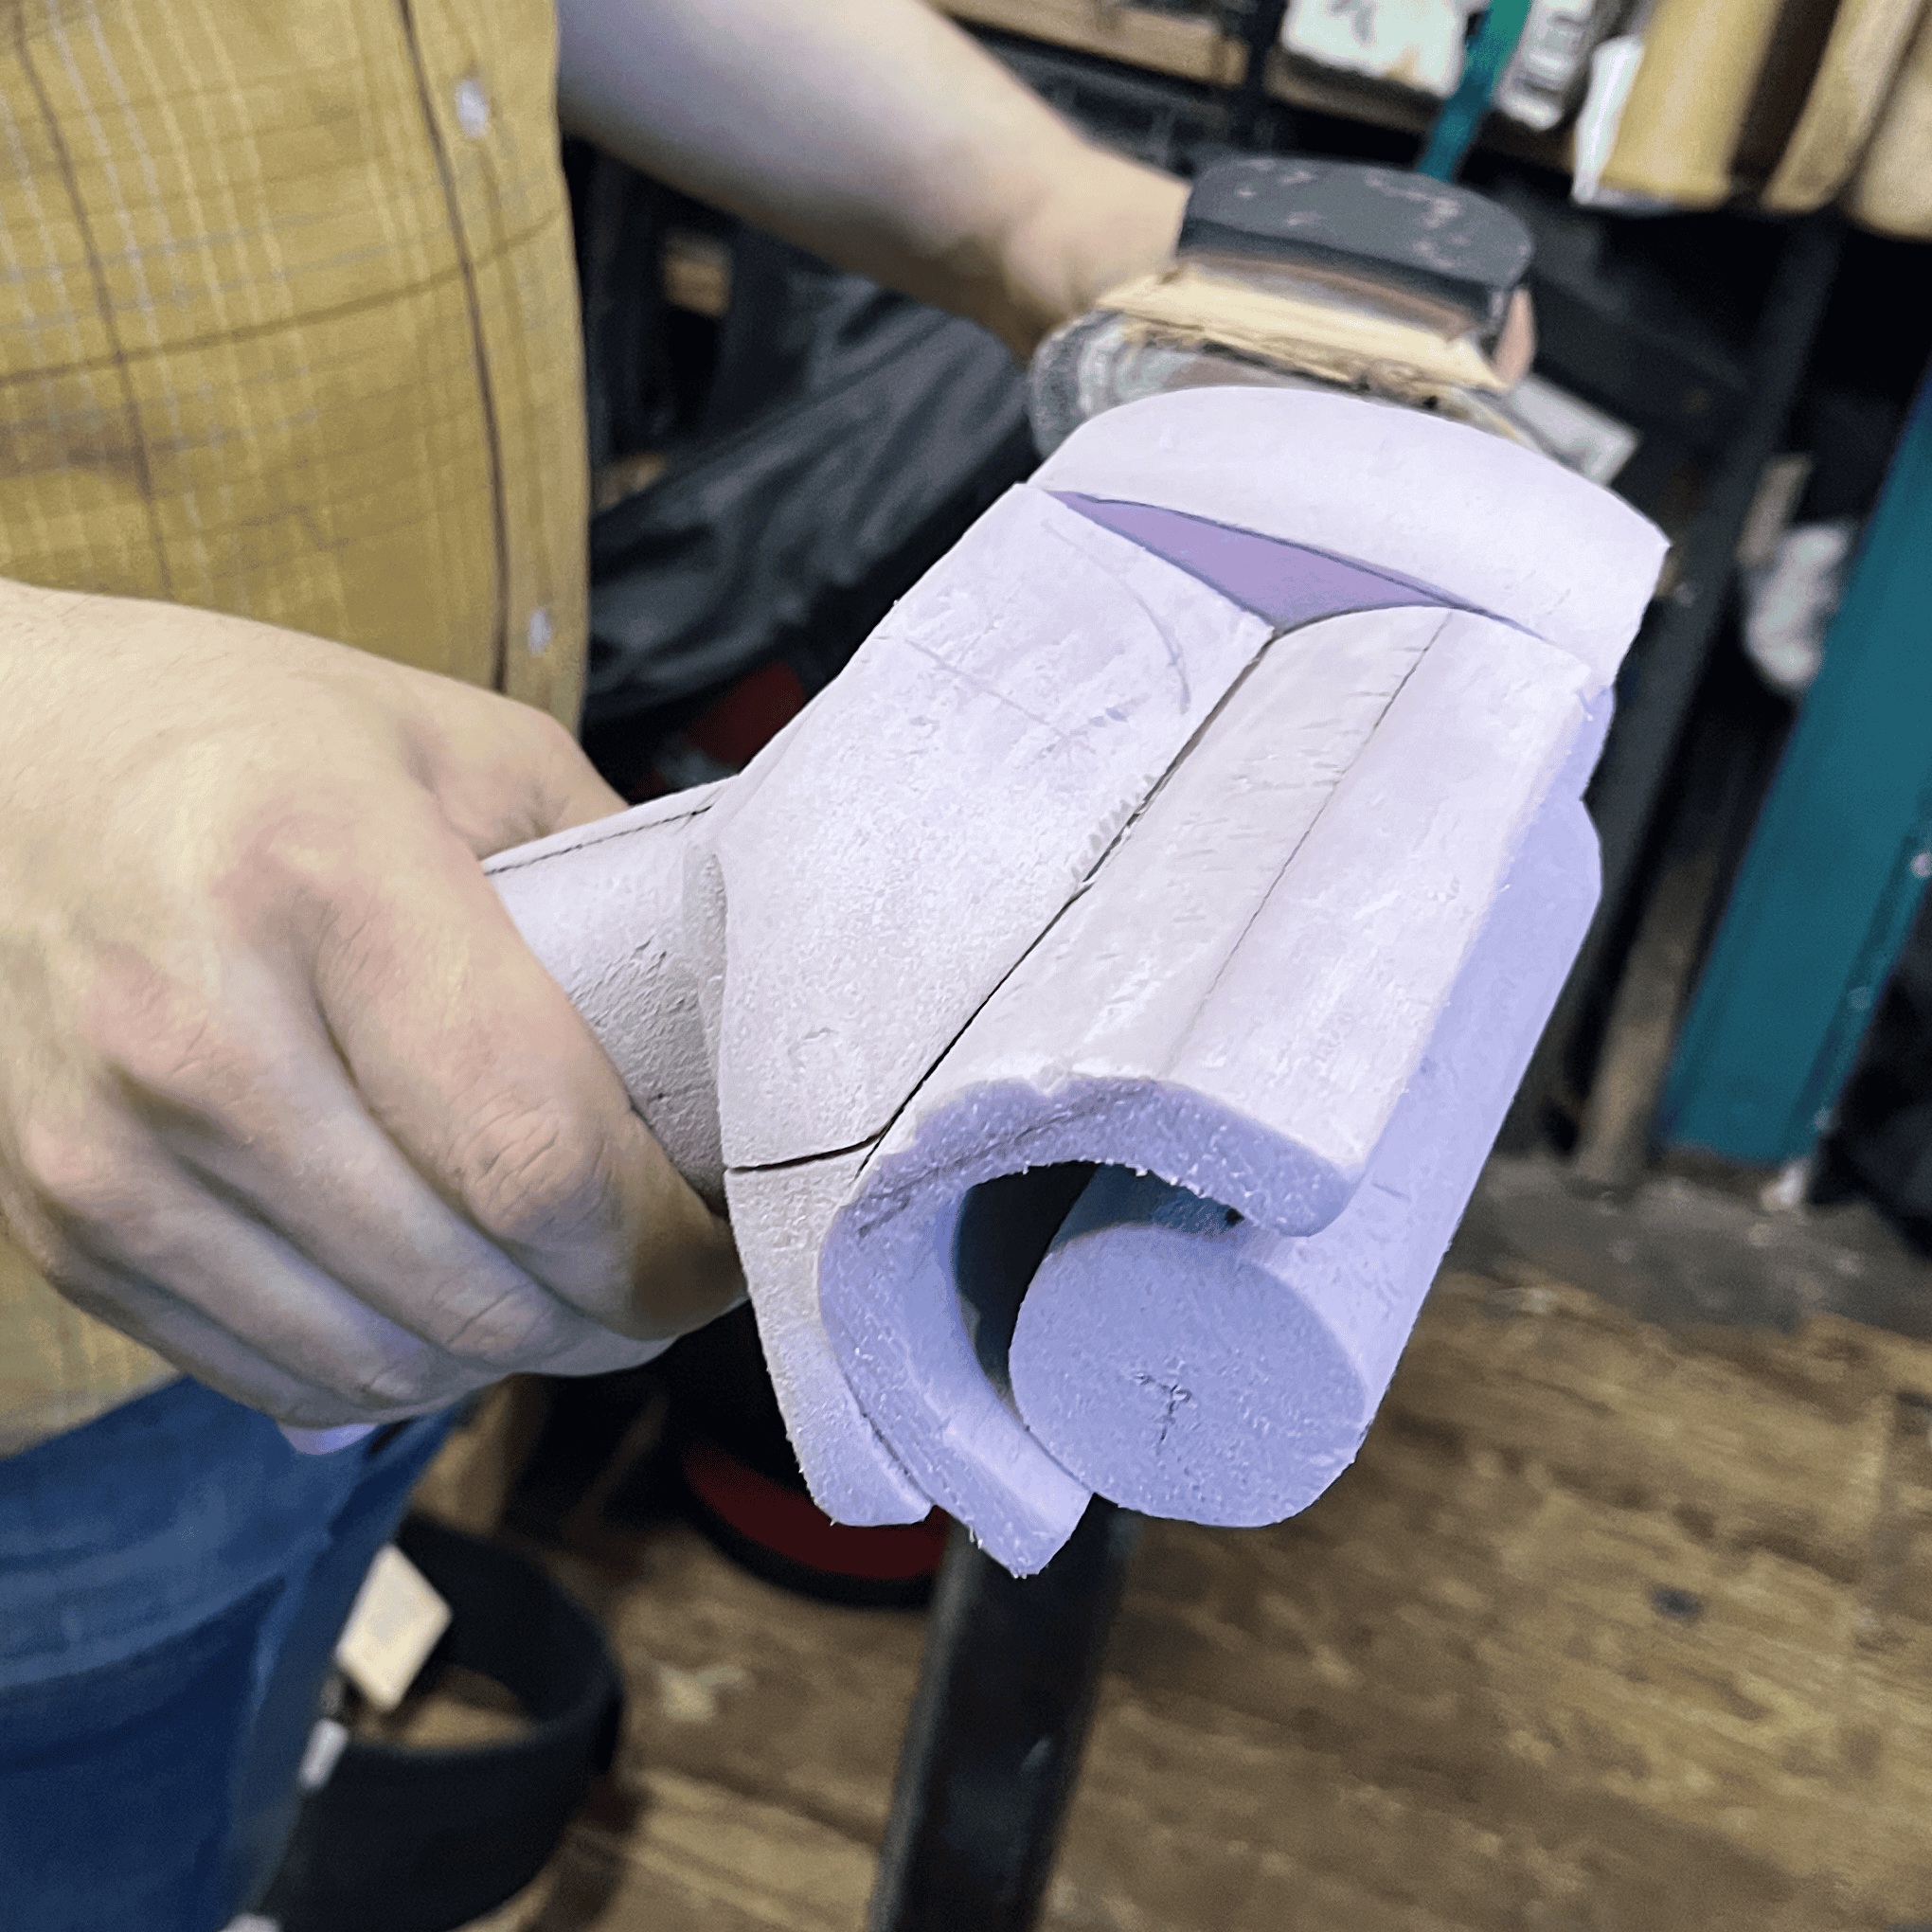
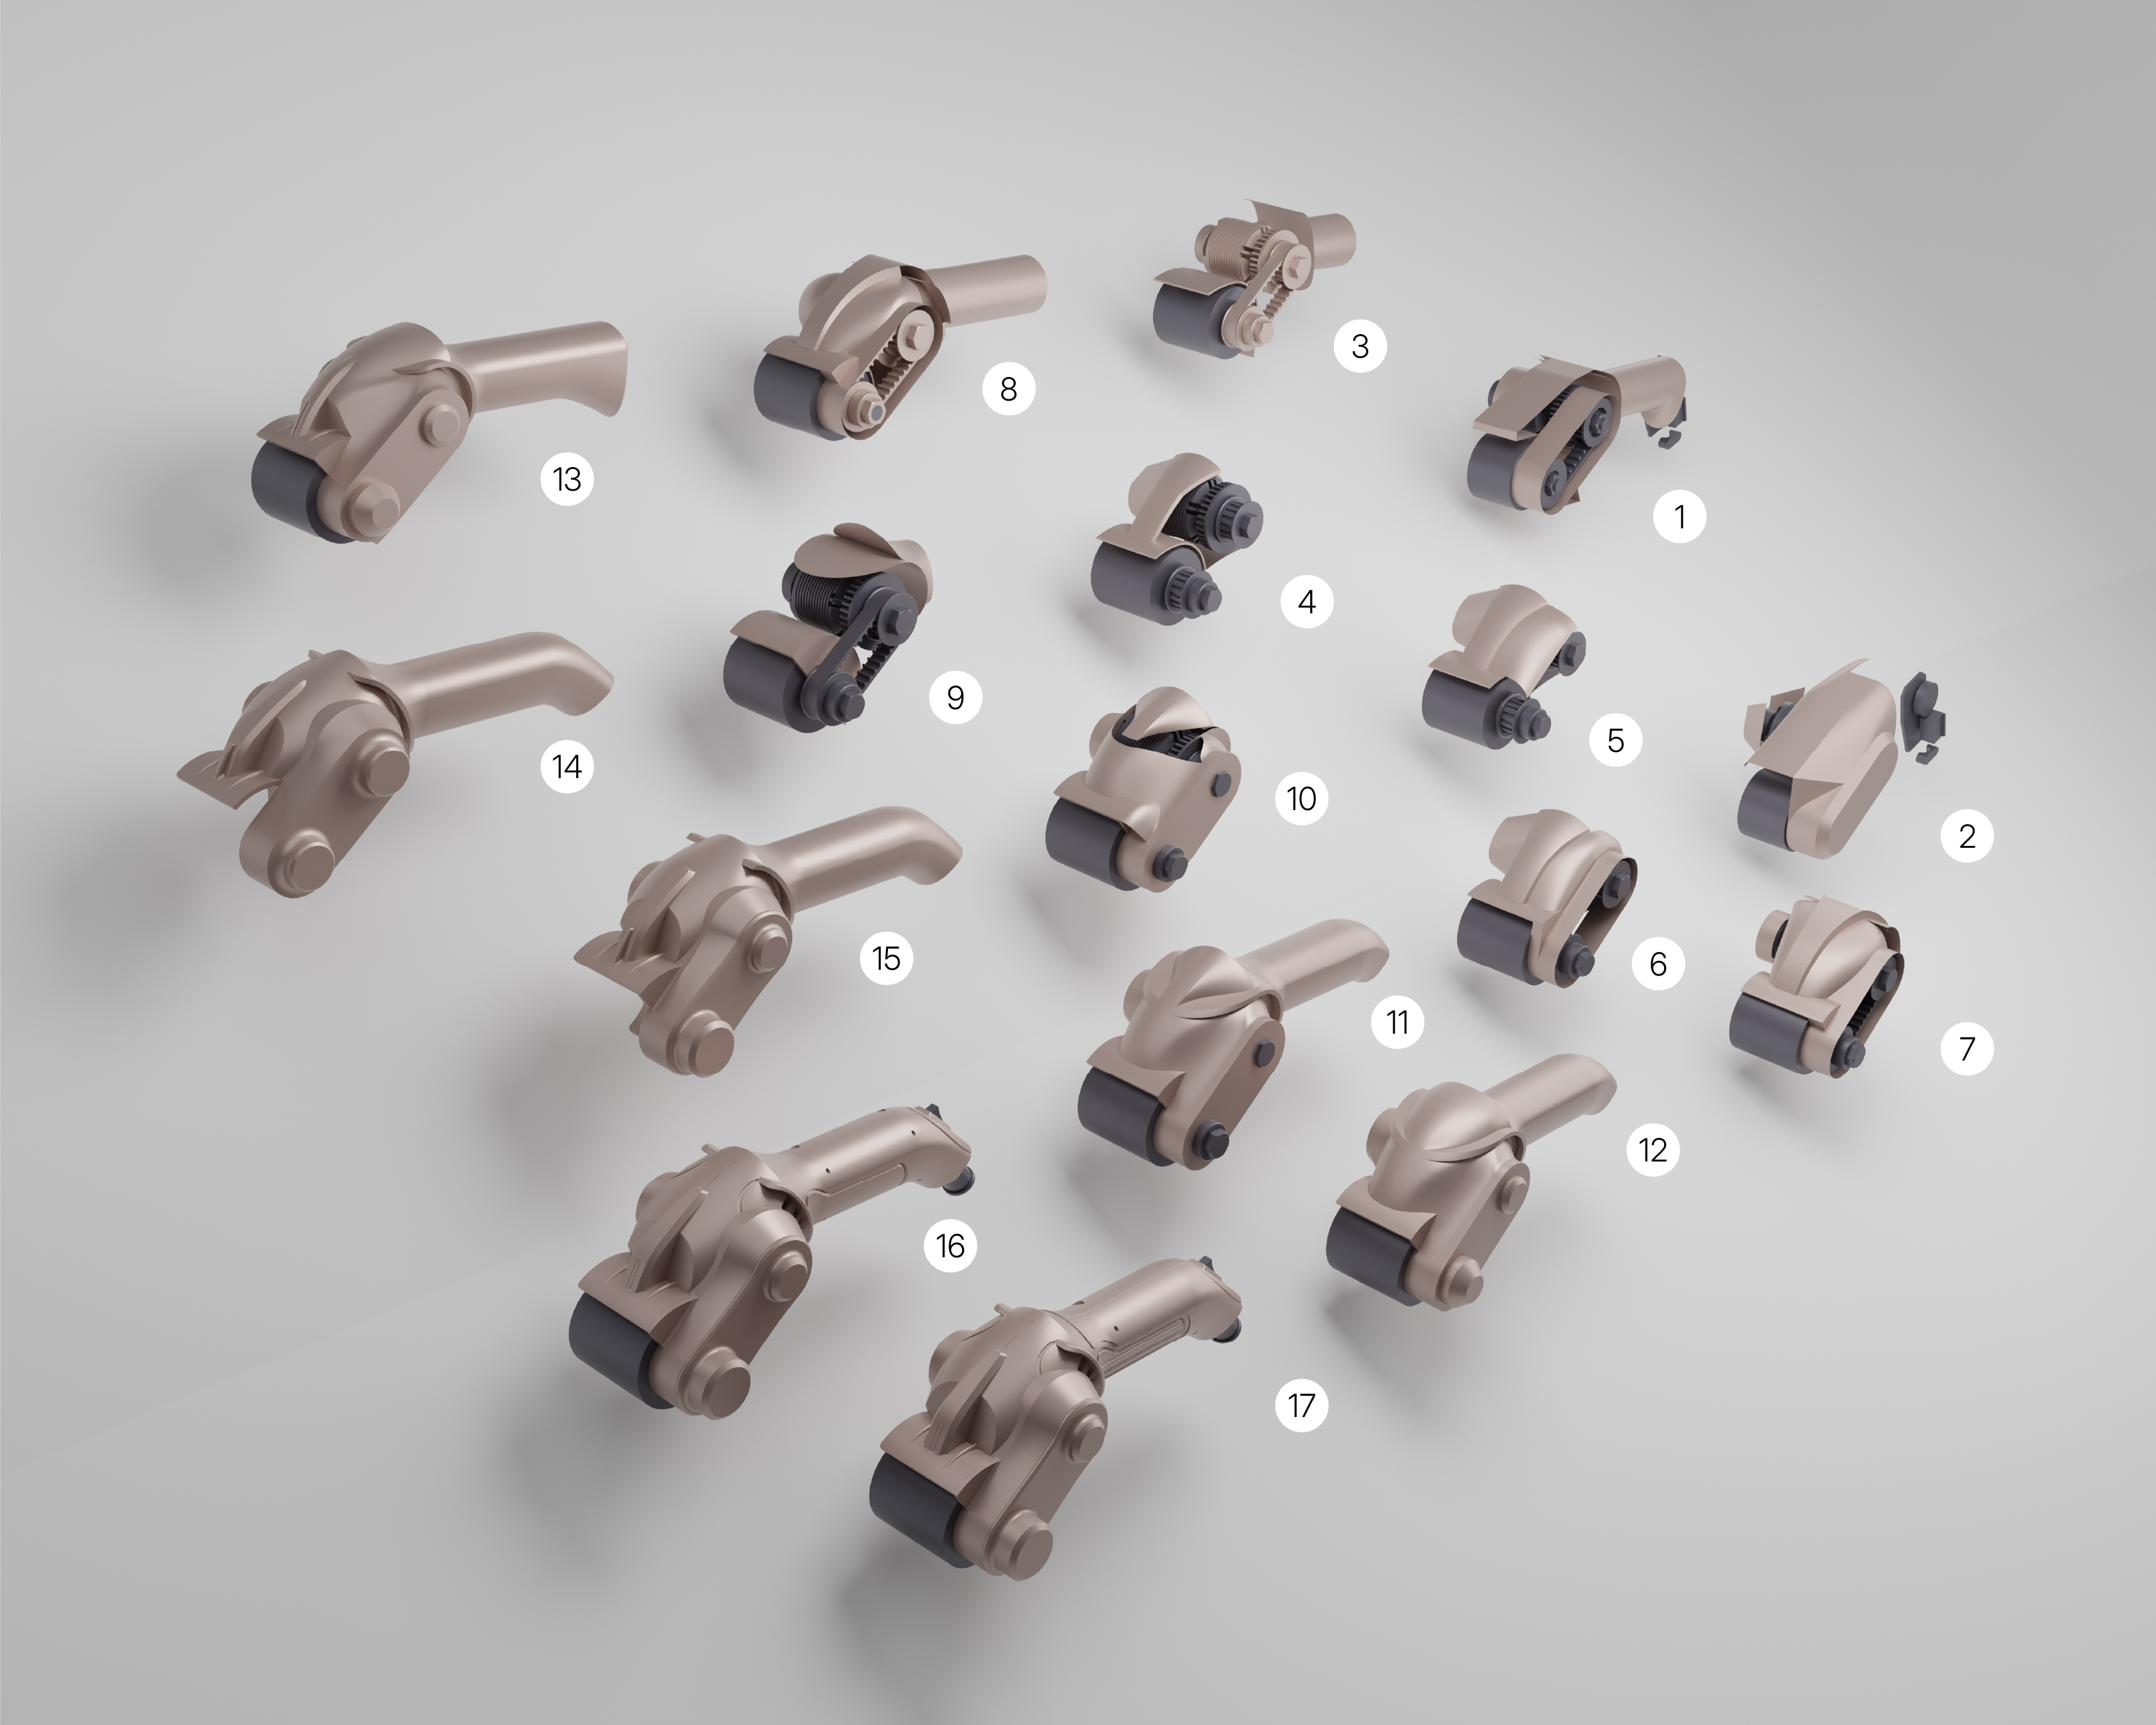
Models 6-10 - scaling the sleeve
The 'sanding wand' made more sense to be rotated on its side, like a roller. This way there could be a more consistency and control for passes over the shoe sole.
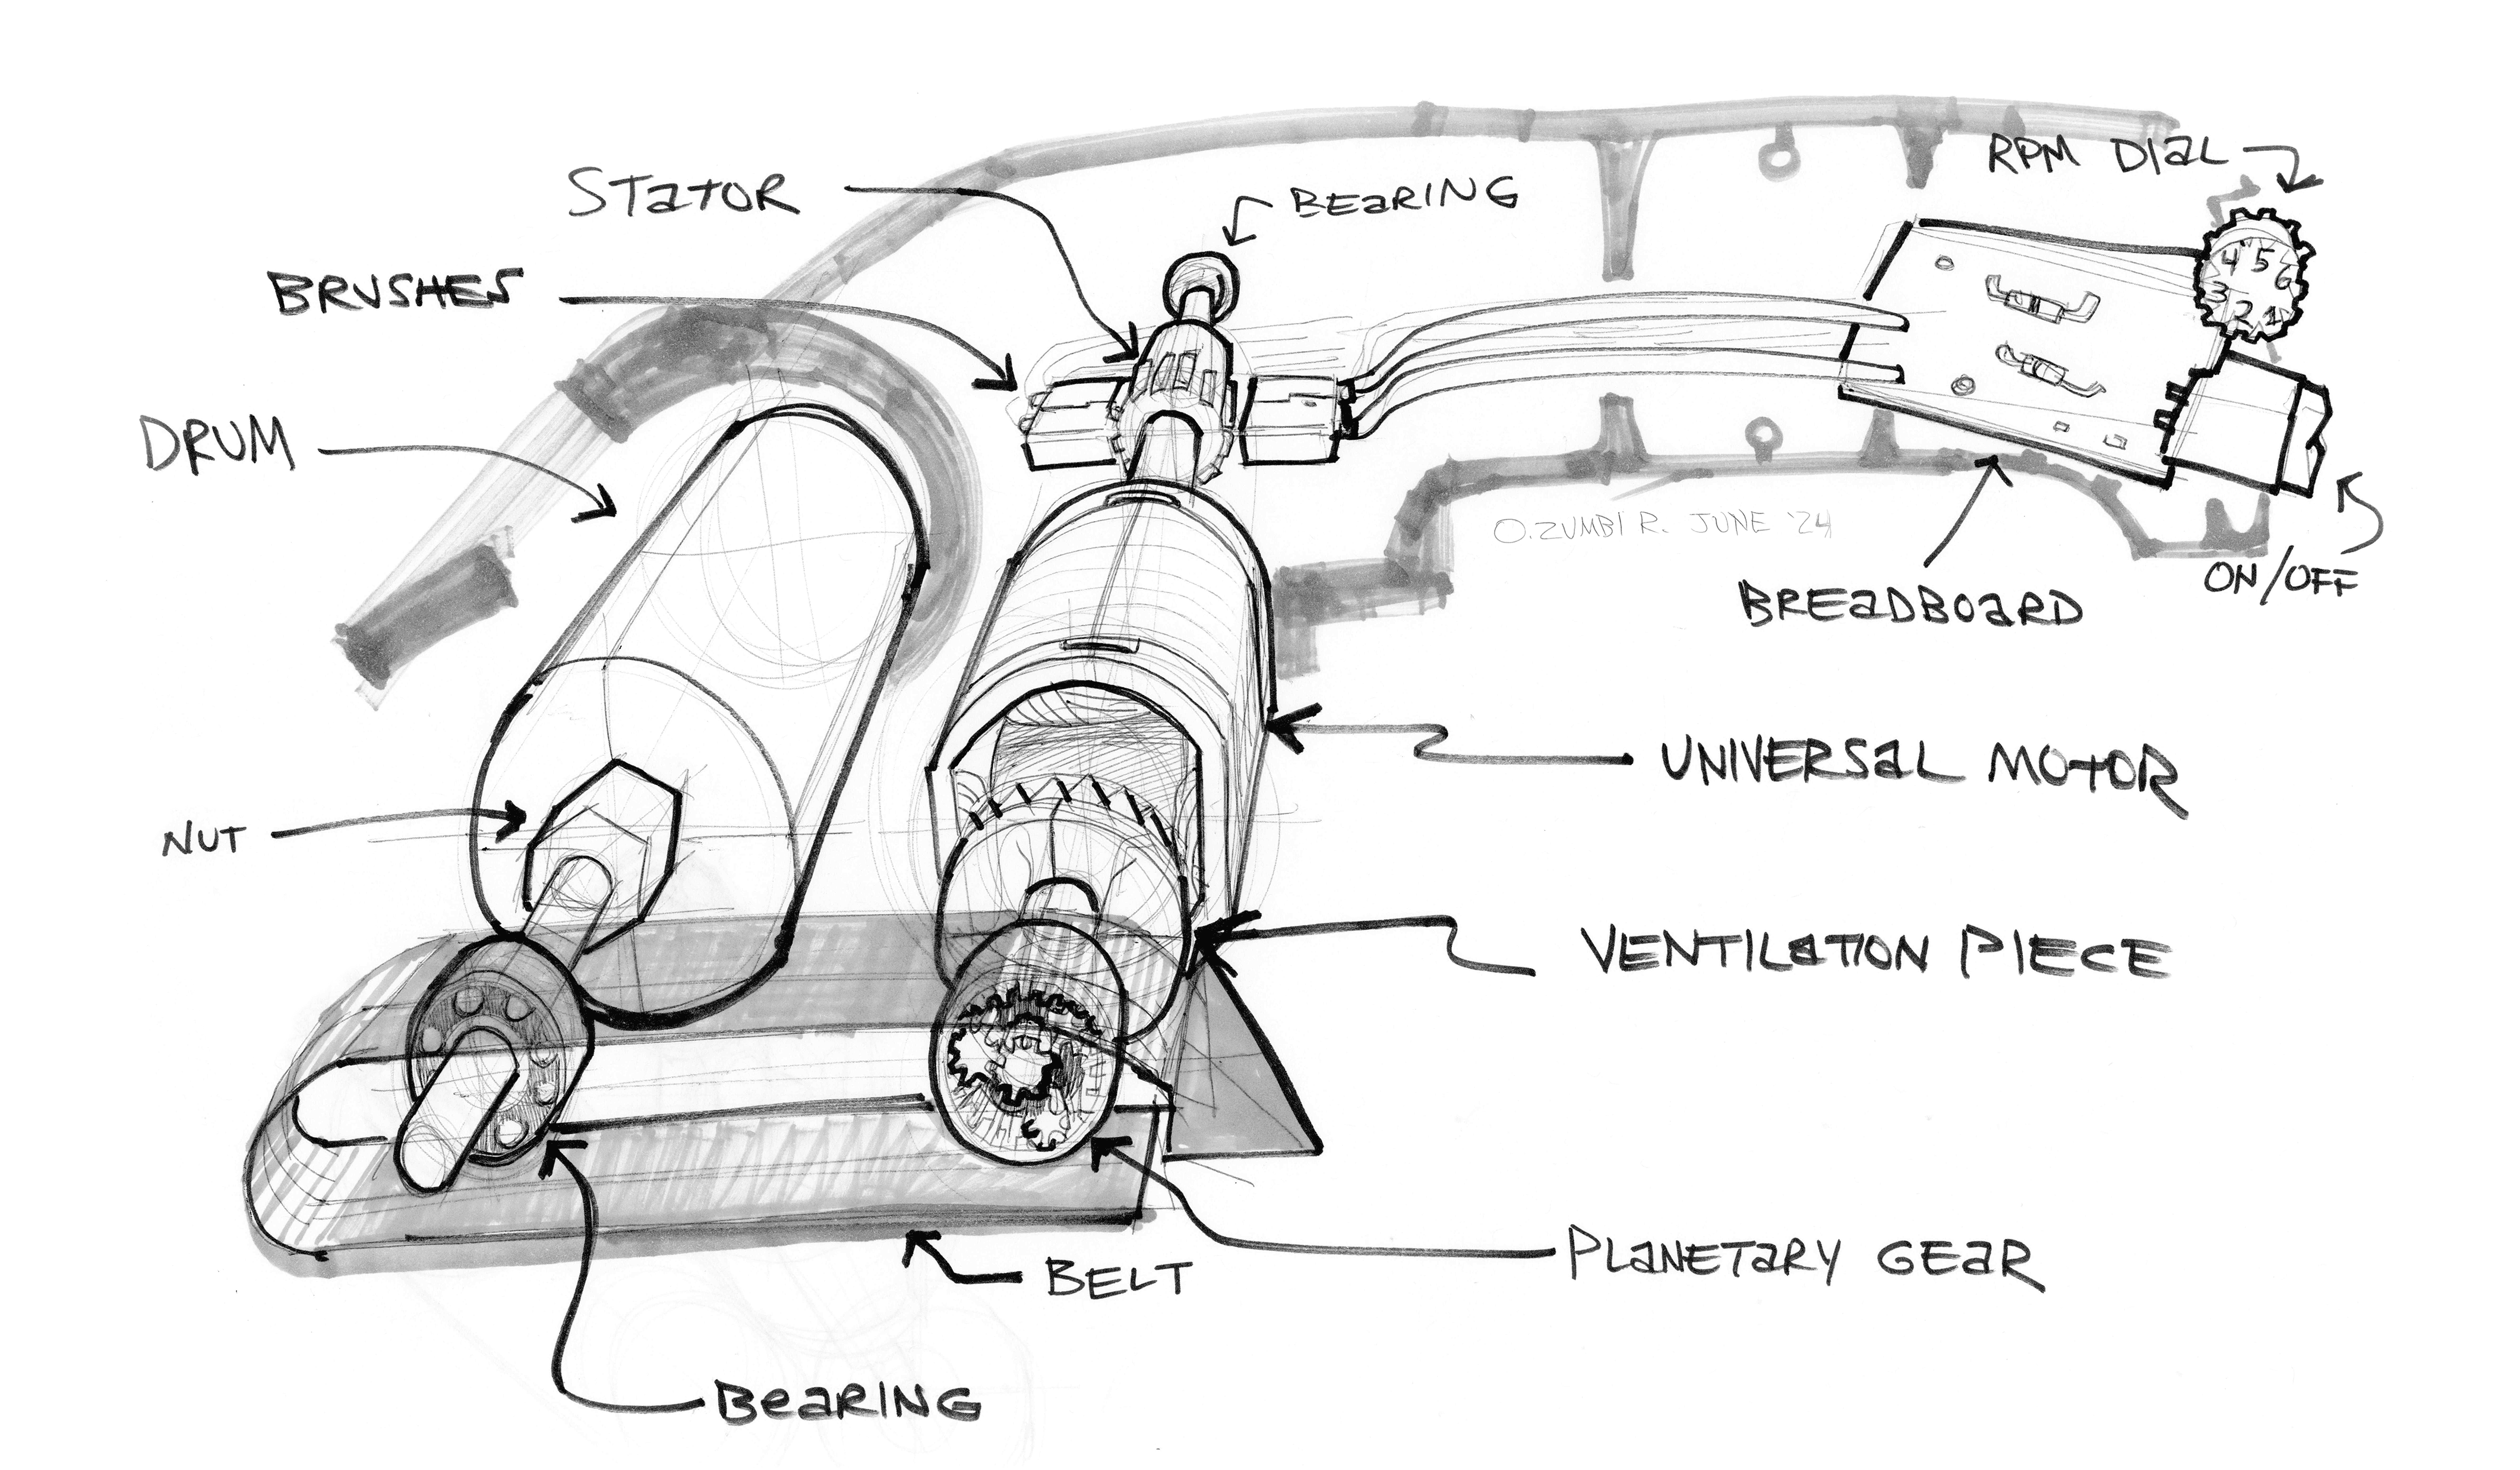
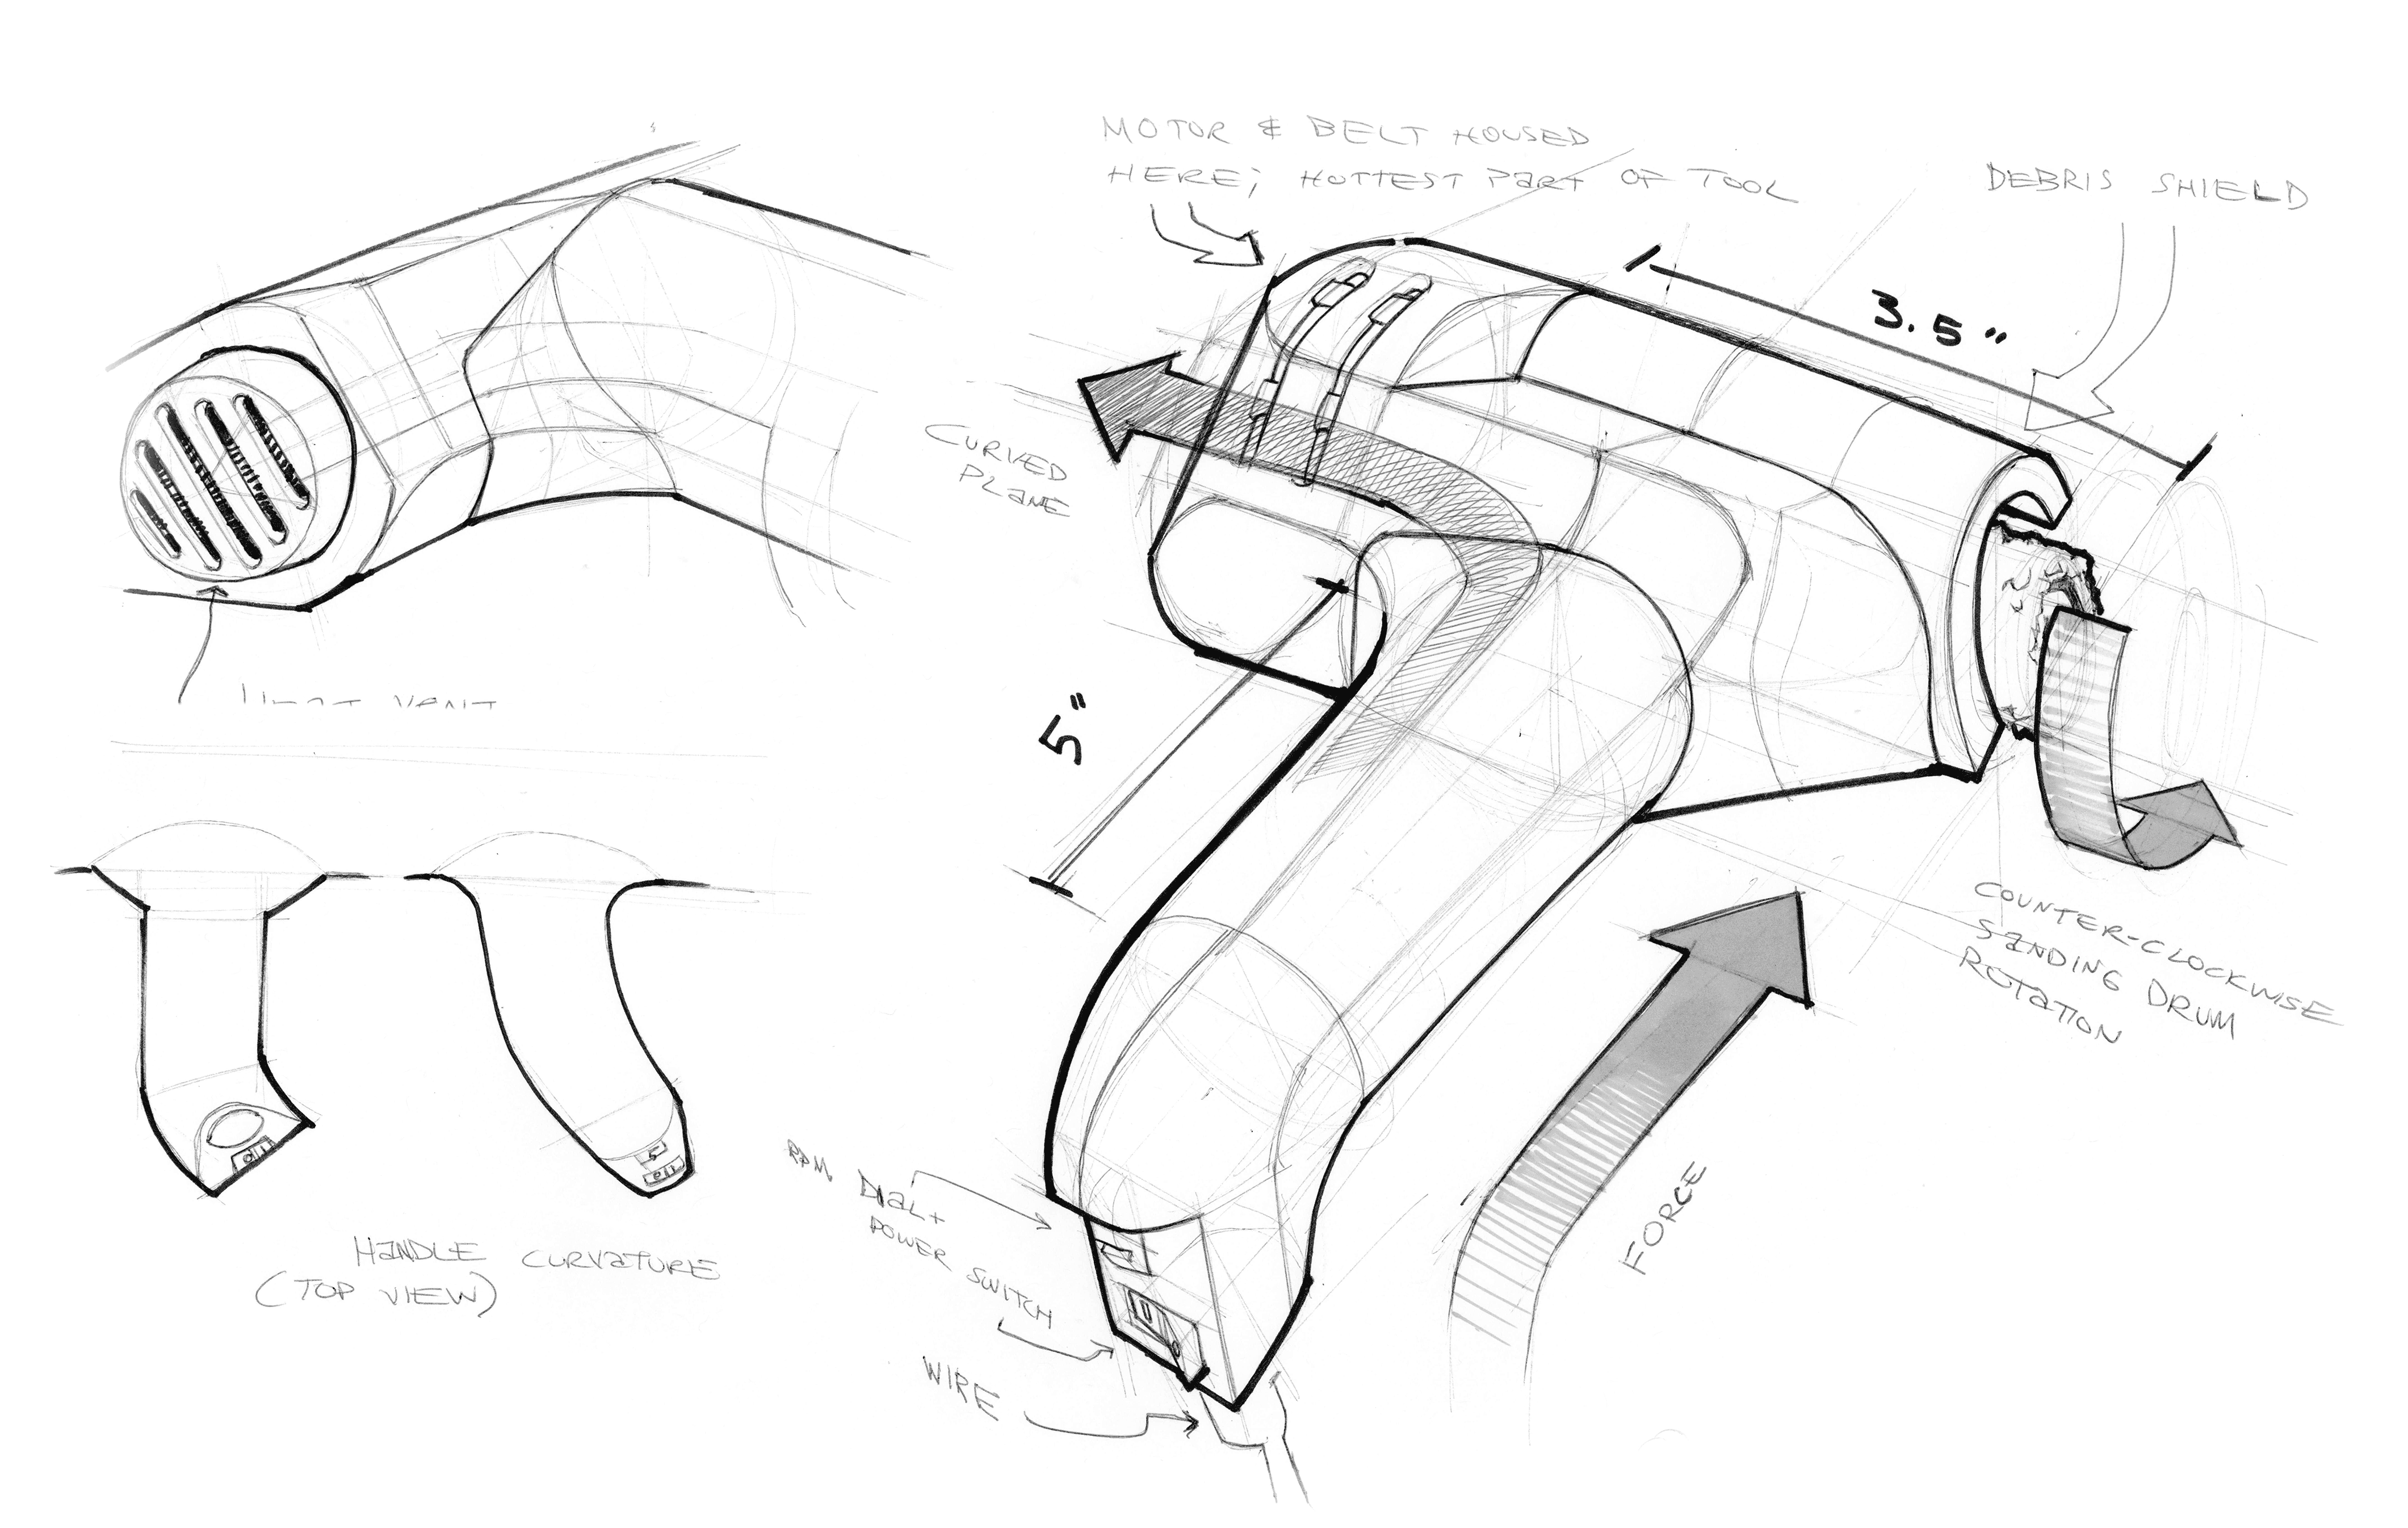
Internal components breakdown
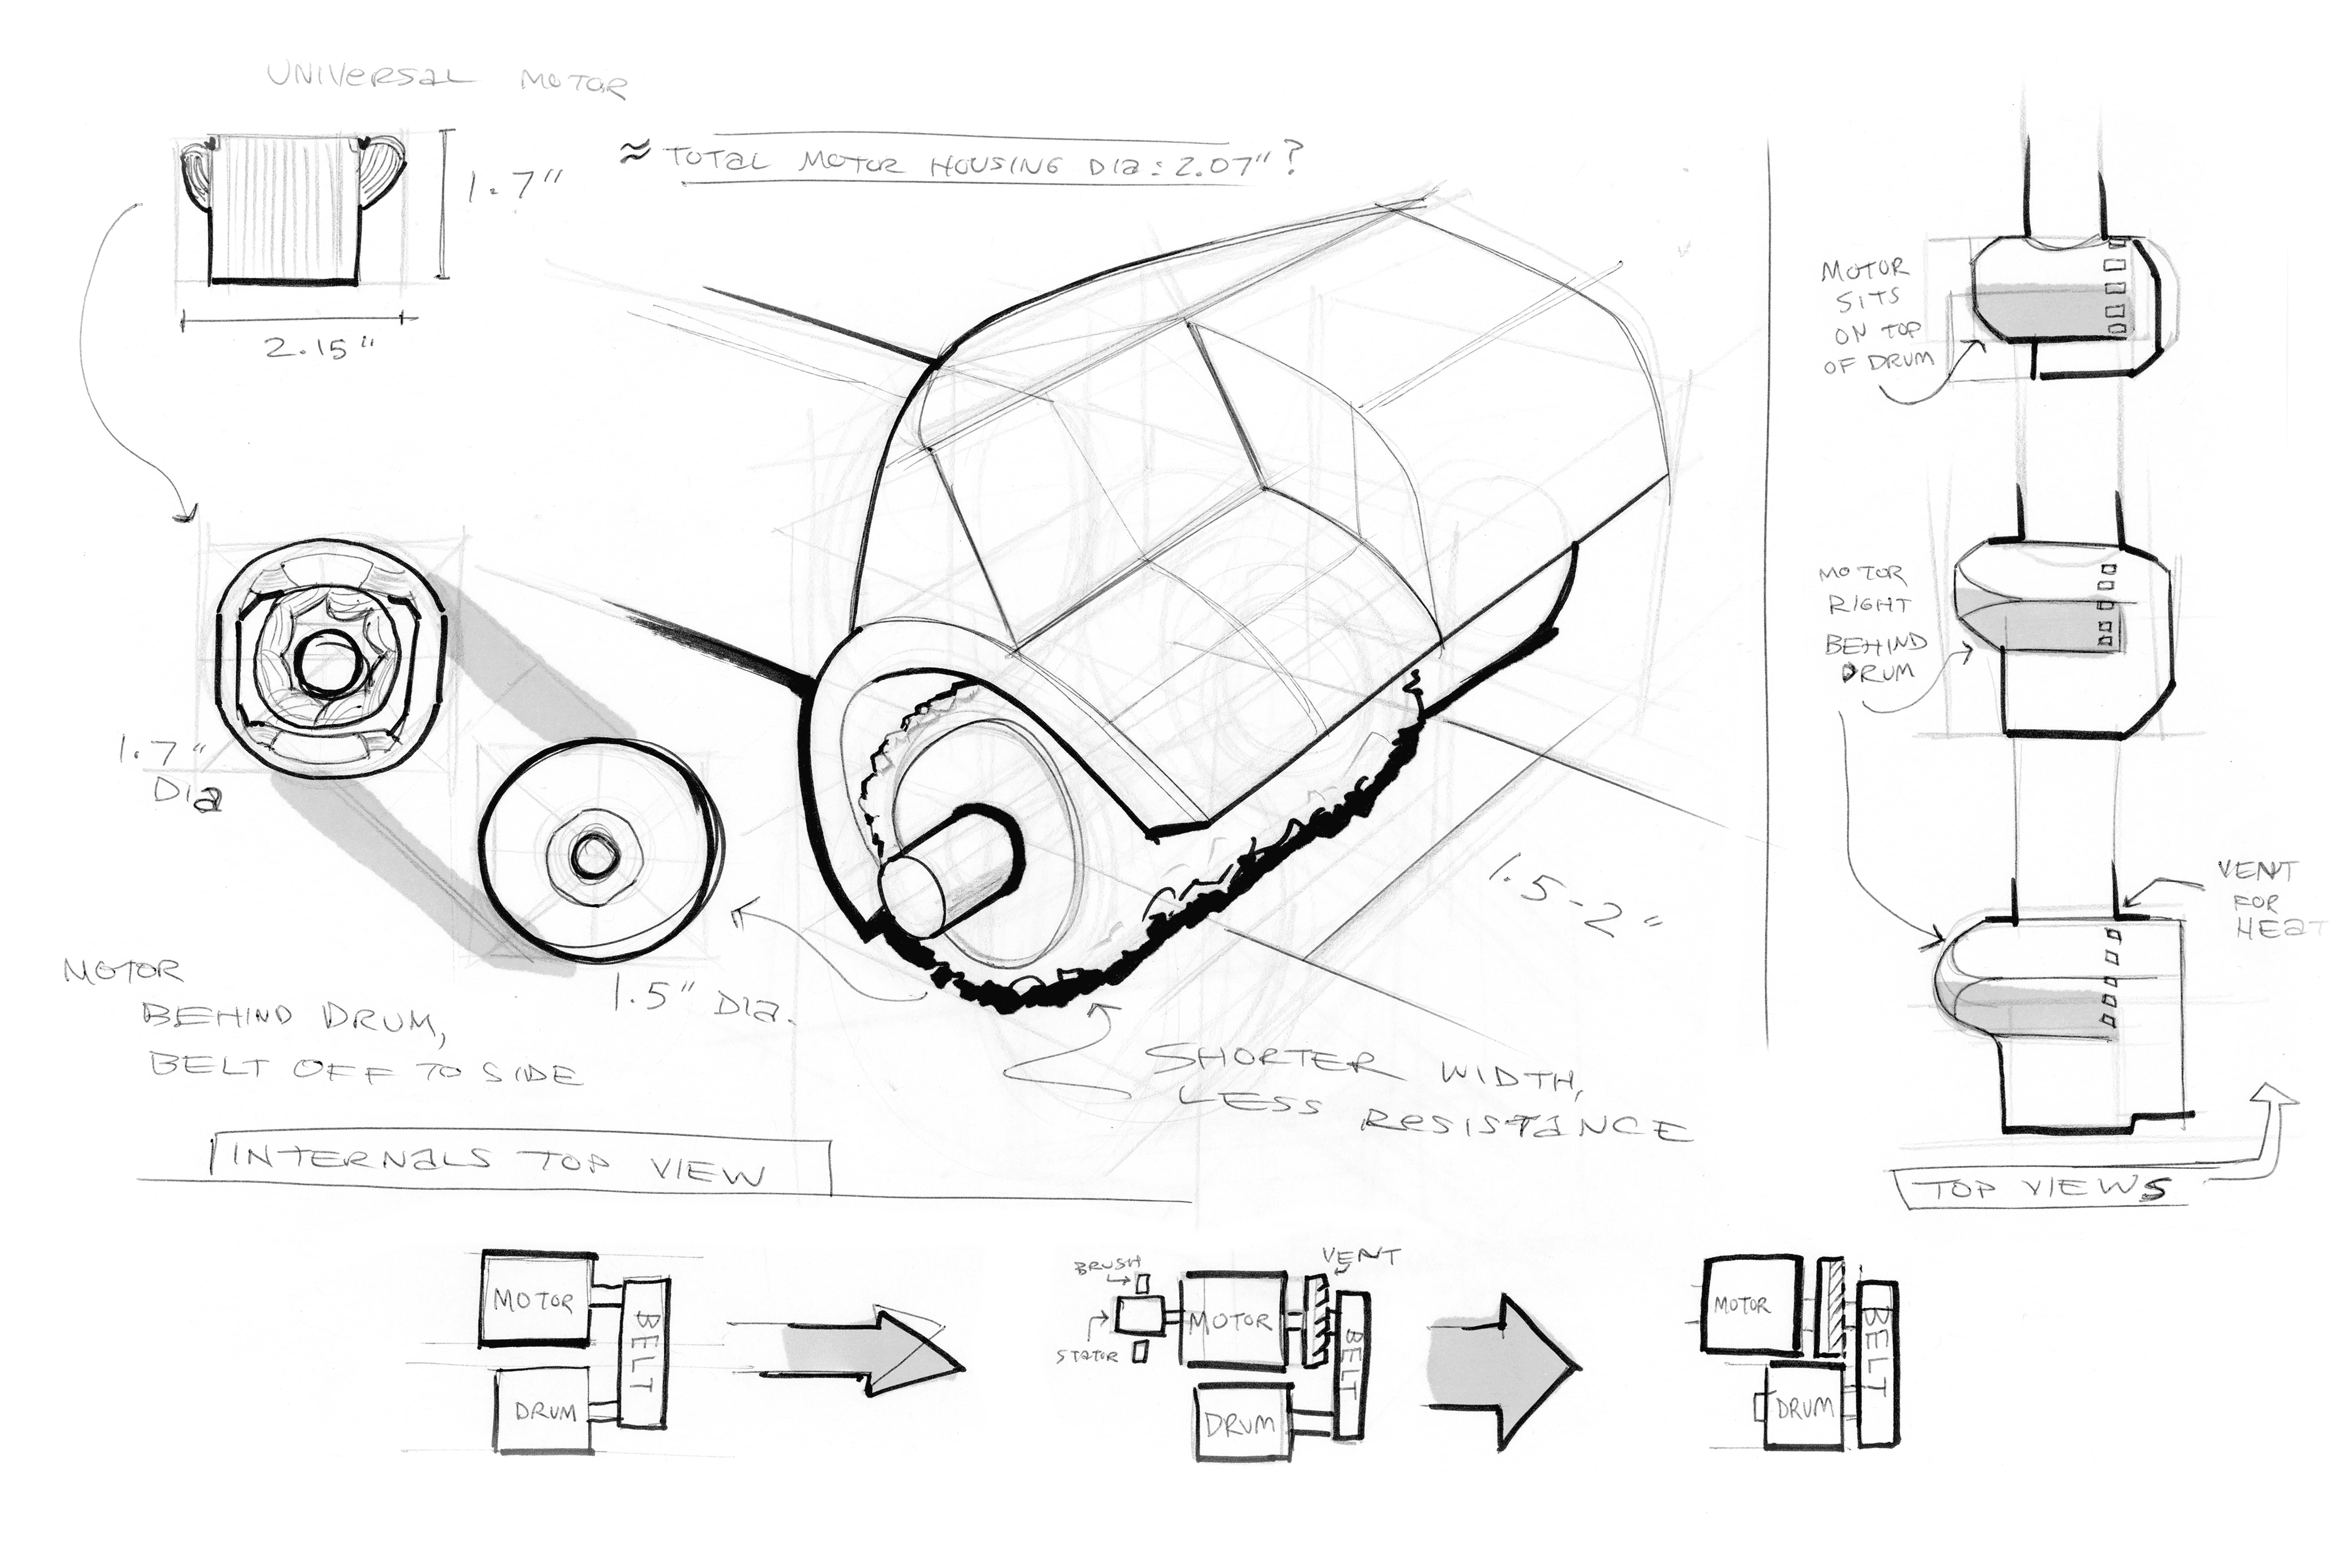
During the third visit...
The cobbler expressed more interested with the product; holding and posing with it significantly more. They did have critiques about its size, saying it was too big, especially the handle.
A long sanding sleeve was not necessary, and was dangerous as it was being driven from one side.

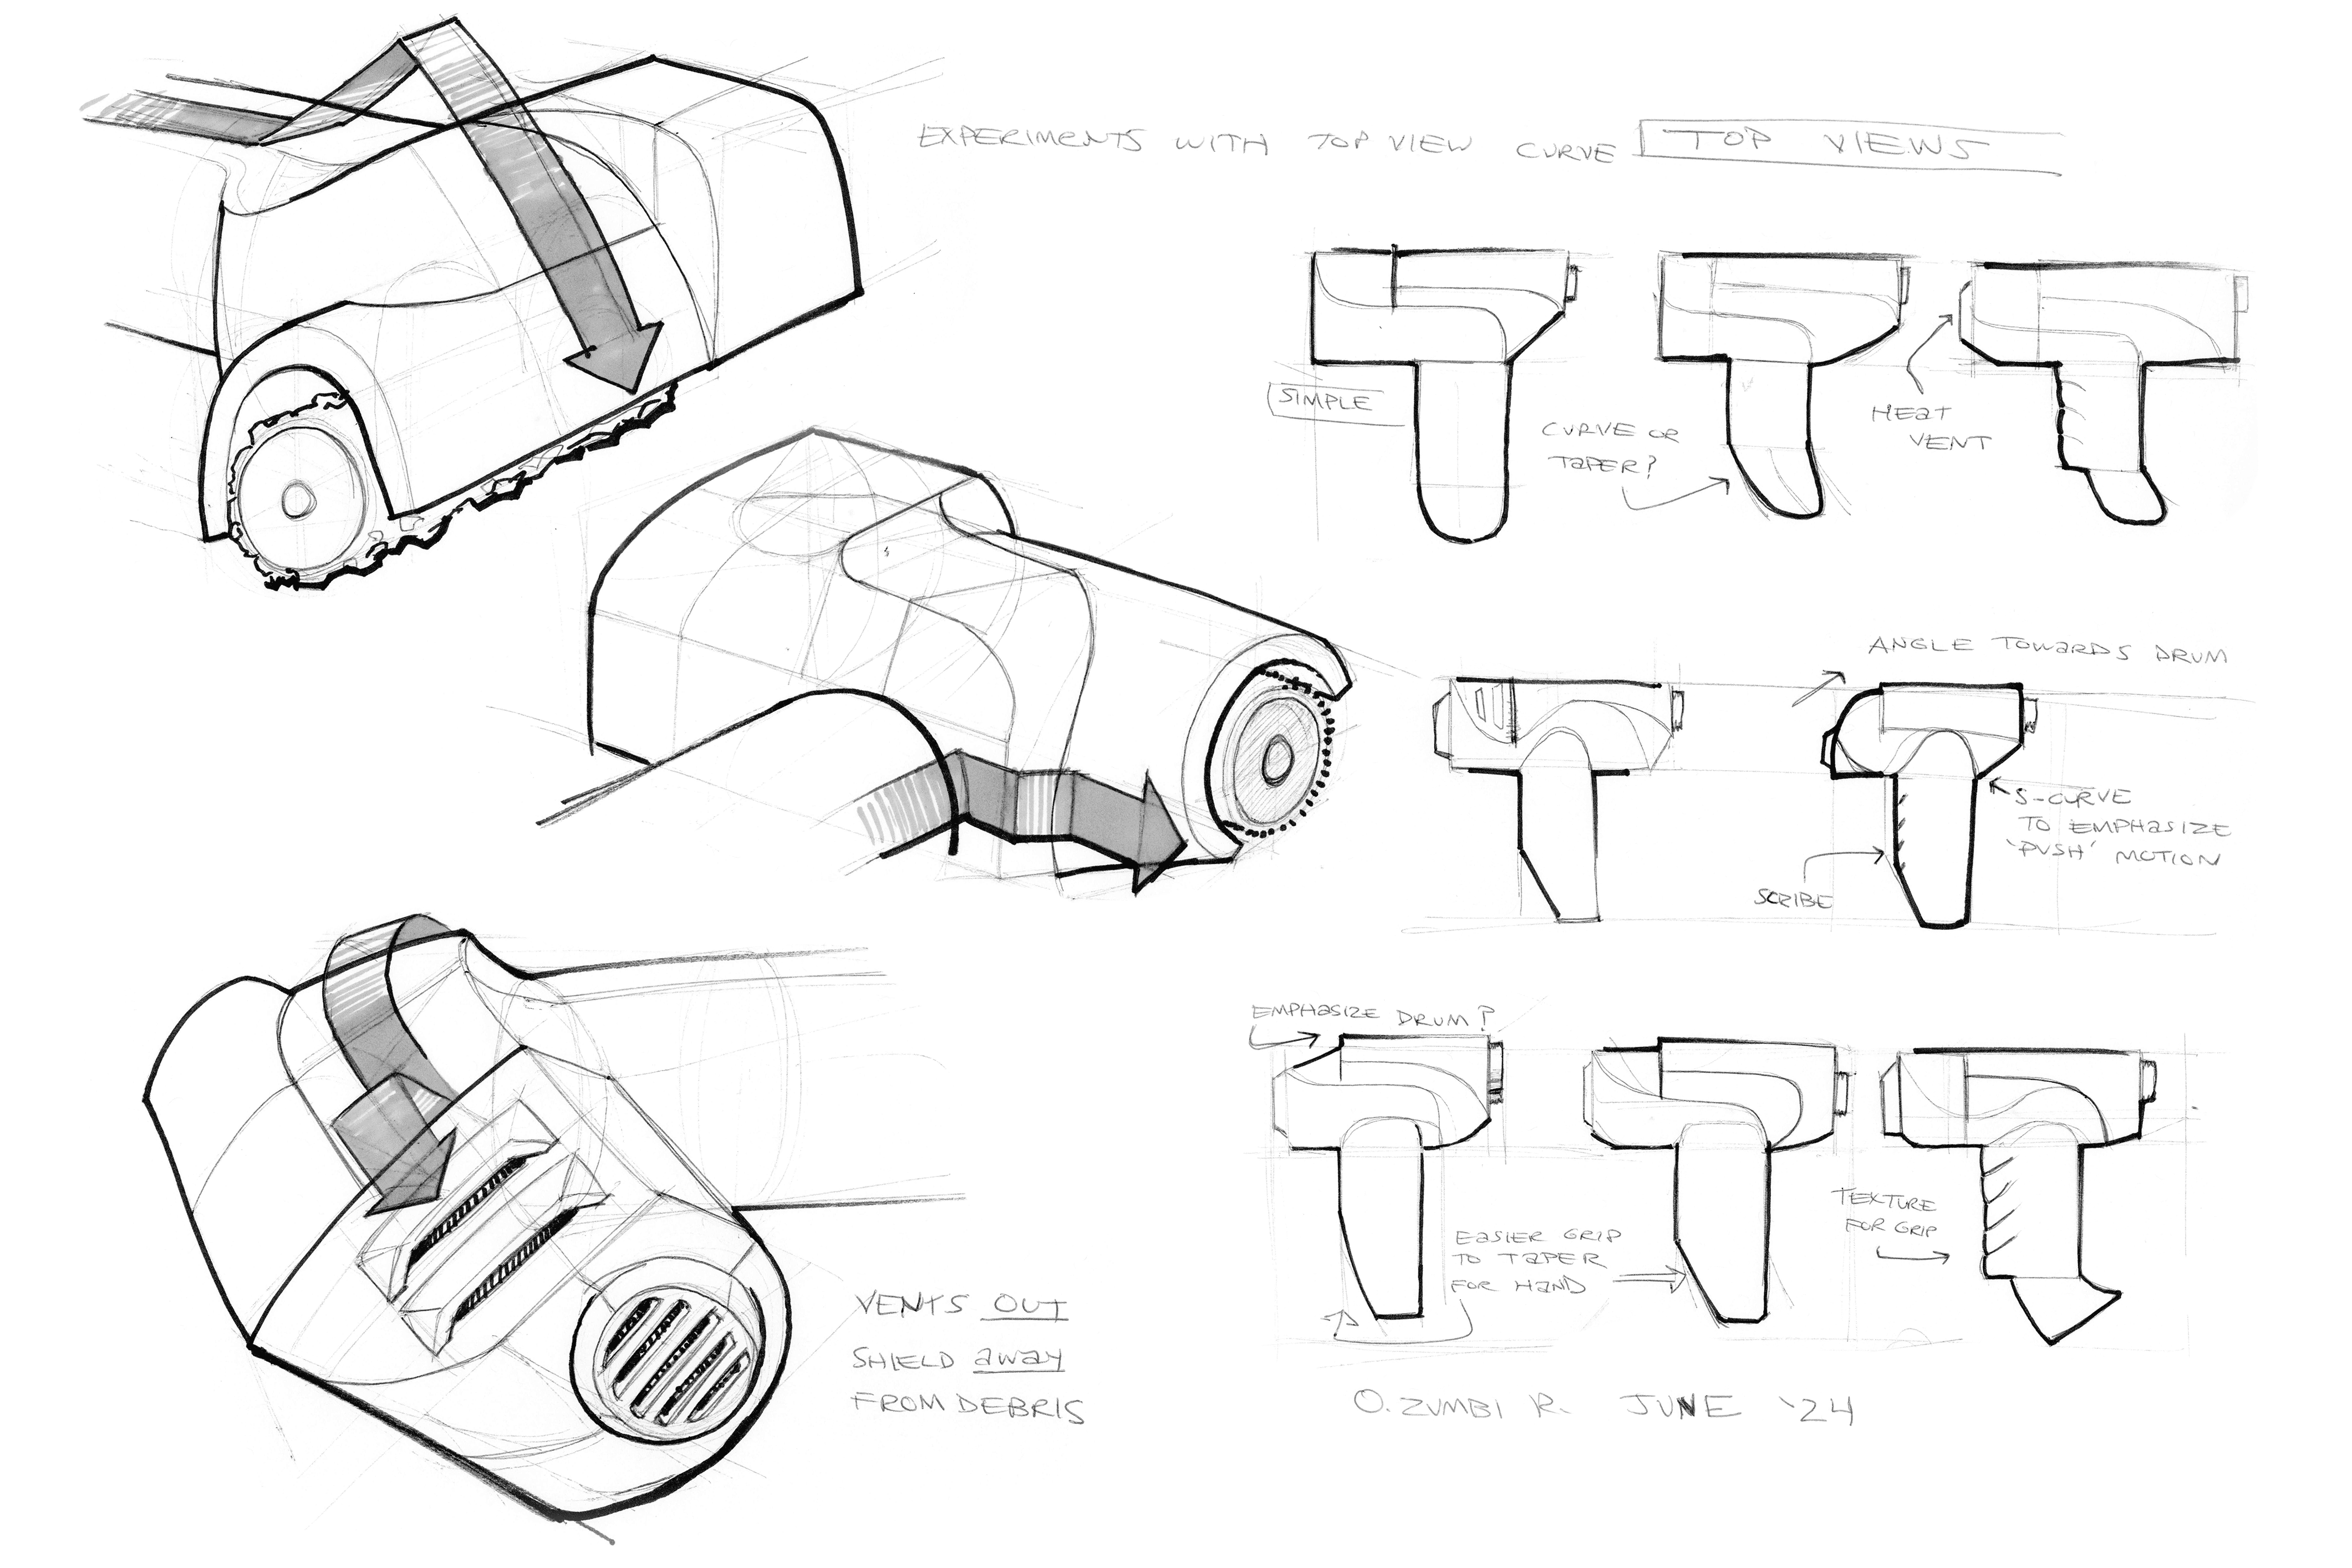
PRODUCT DEVELOPMENT IV
The plantar planer concept: refining the planer concept
The planer concept was good, but to make it stronger, the tool was slimmed down and sanding sleeve shortened to increase visibility and safety for the user.
Model #11 - sizing finalized
This model was completed to the full scale needed to house all internal components.

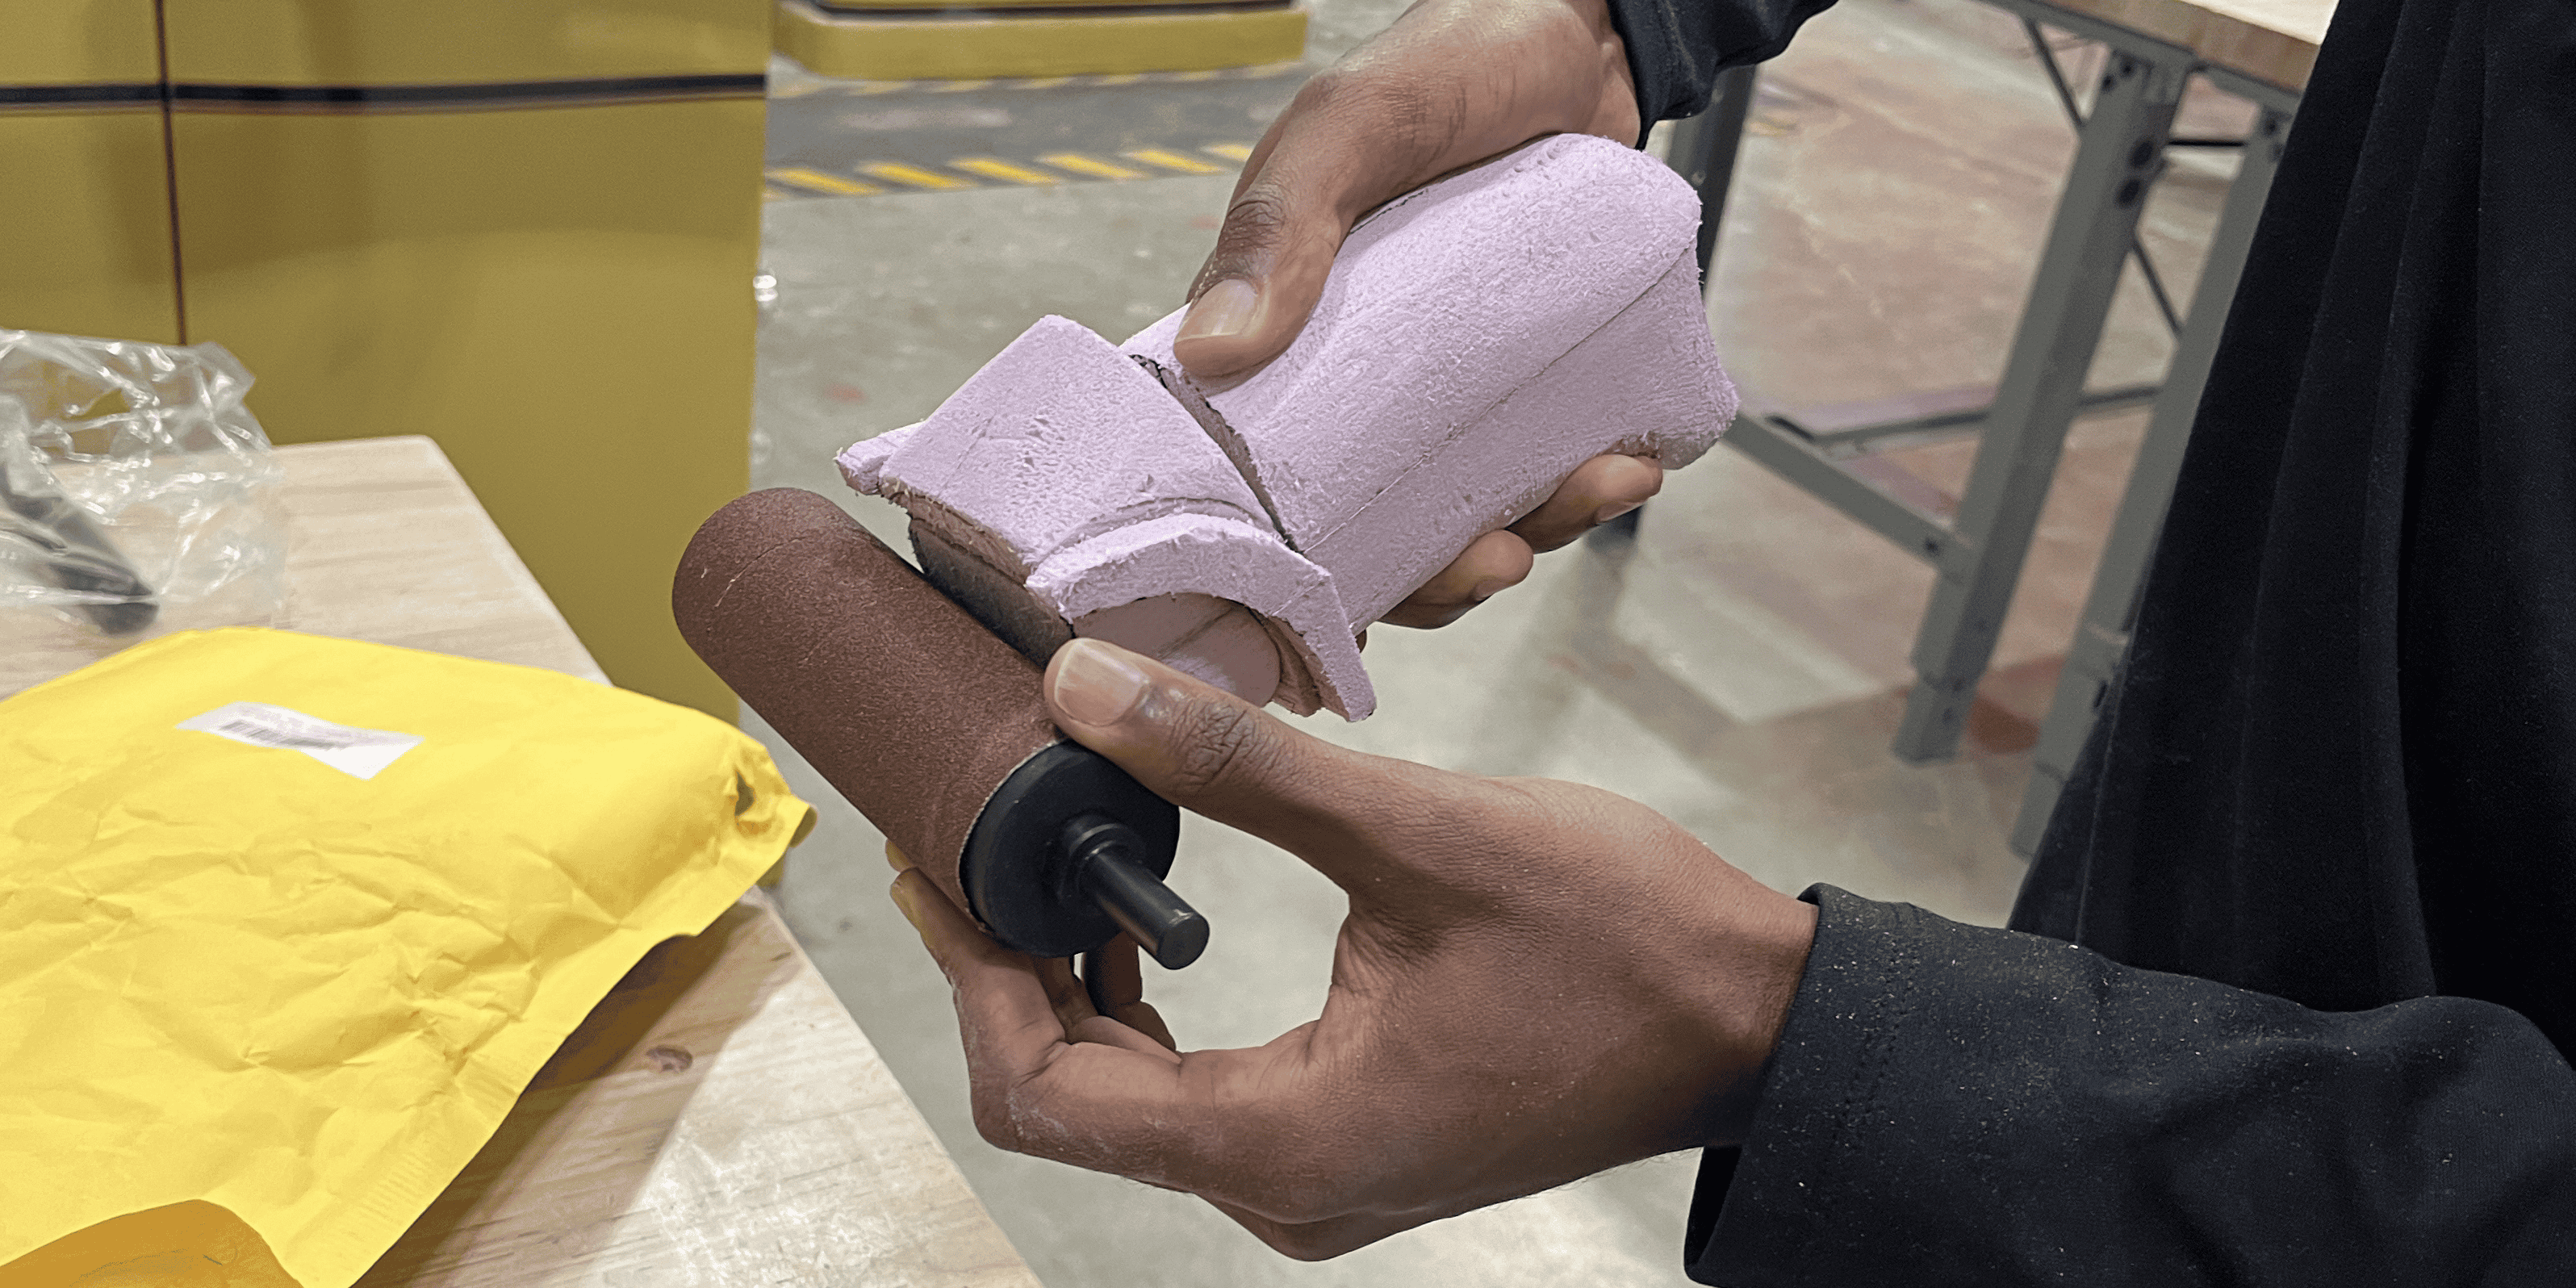
During the fourth visit...
The cobbler was satisfied with the handle and the product as a whole.
The next step was to figure out its aesthetic, and make it look attractive.
.jpg)
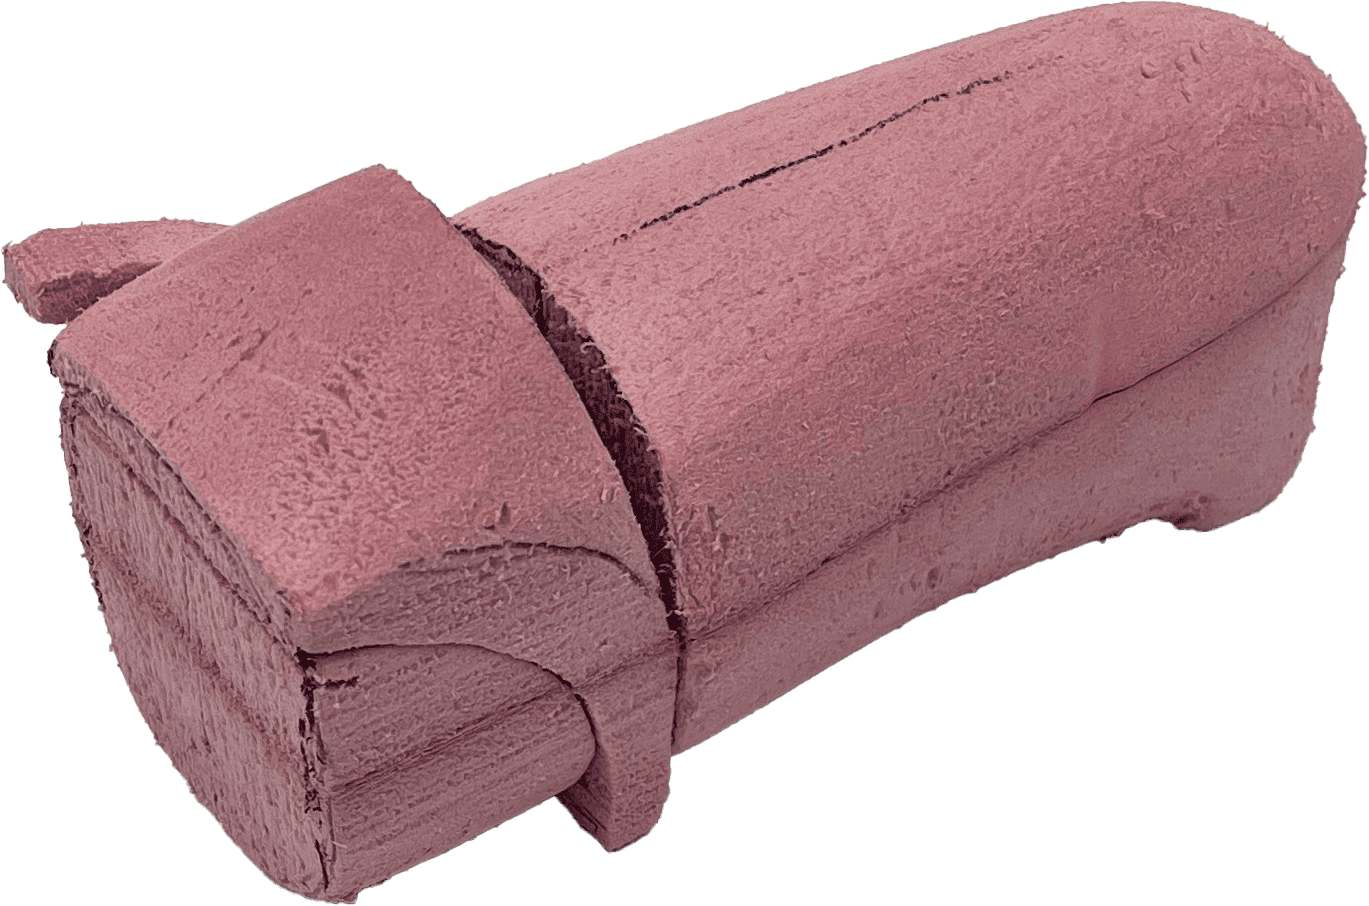
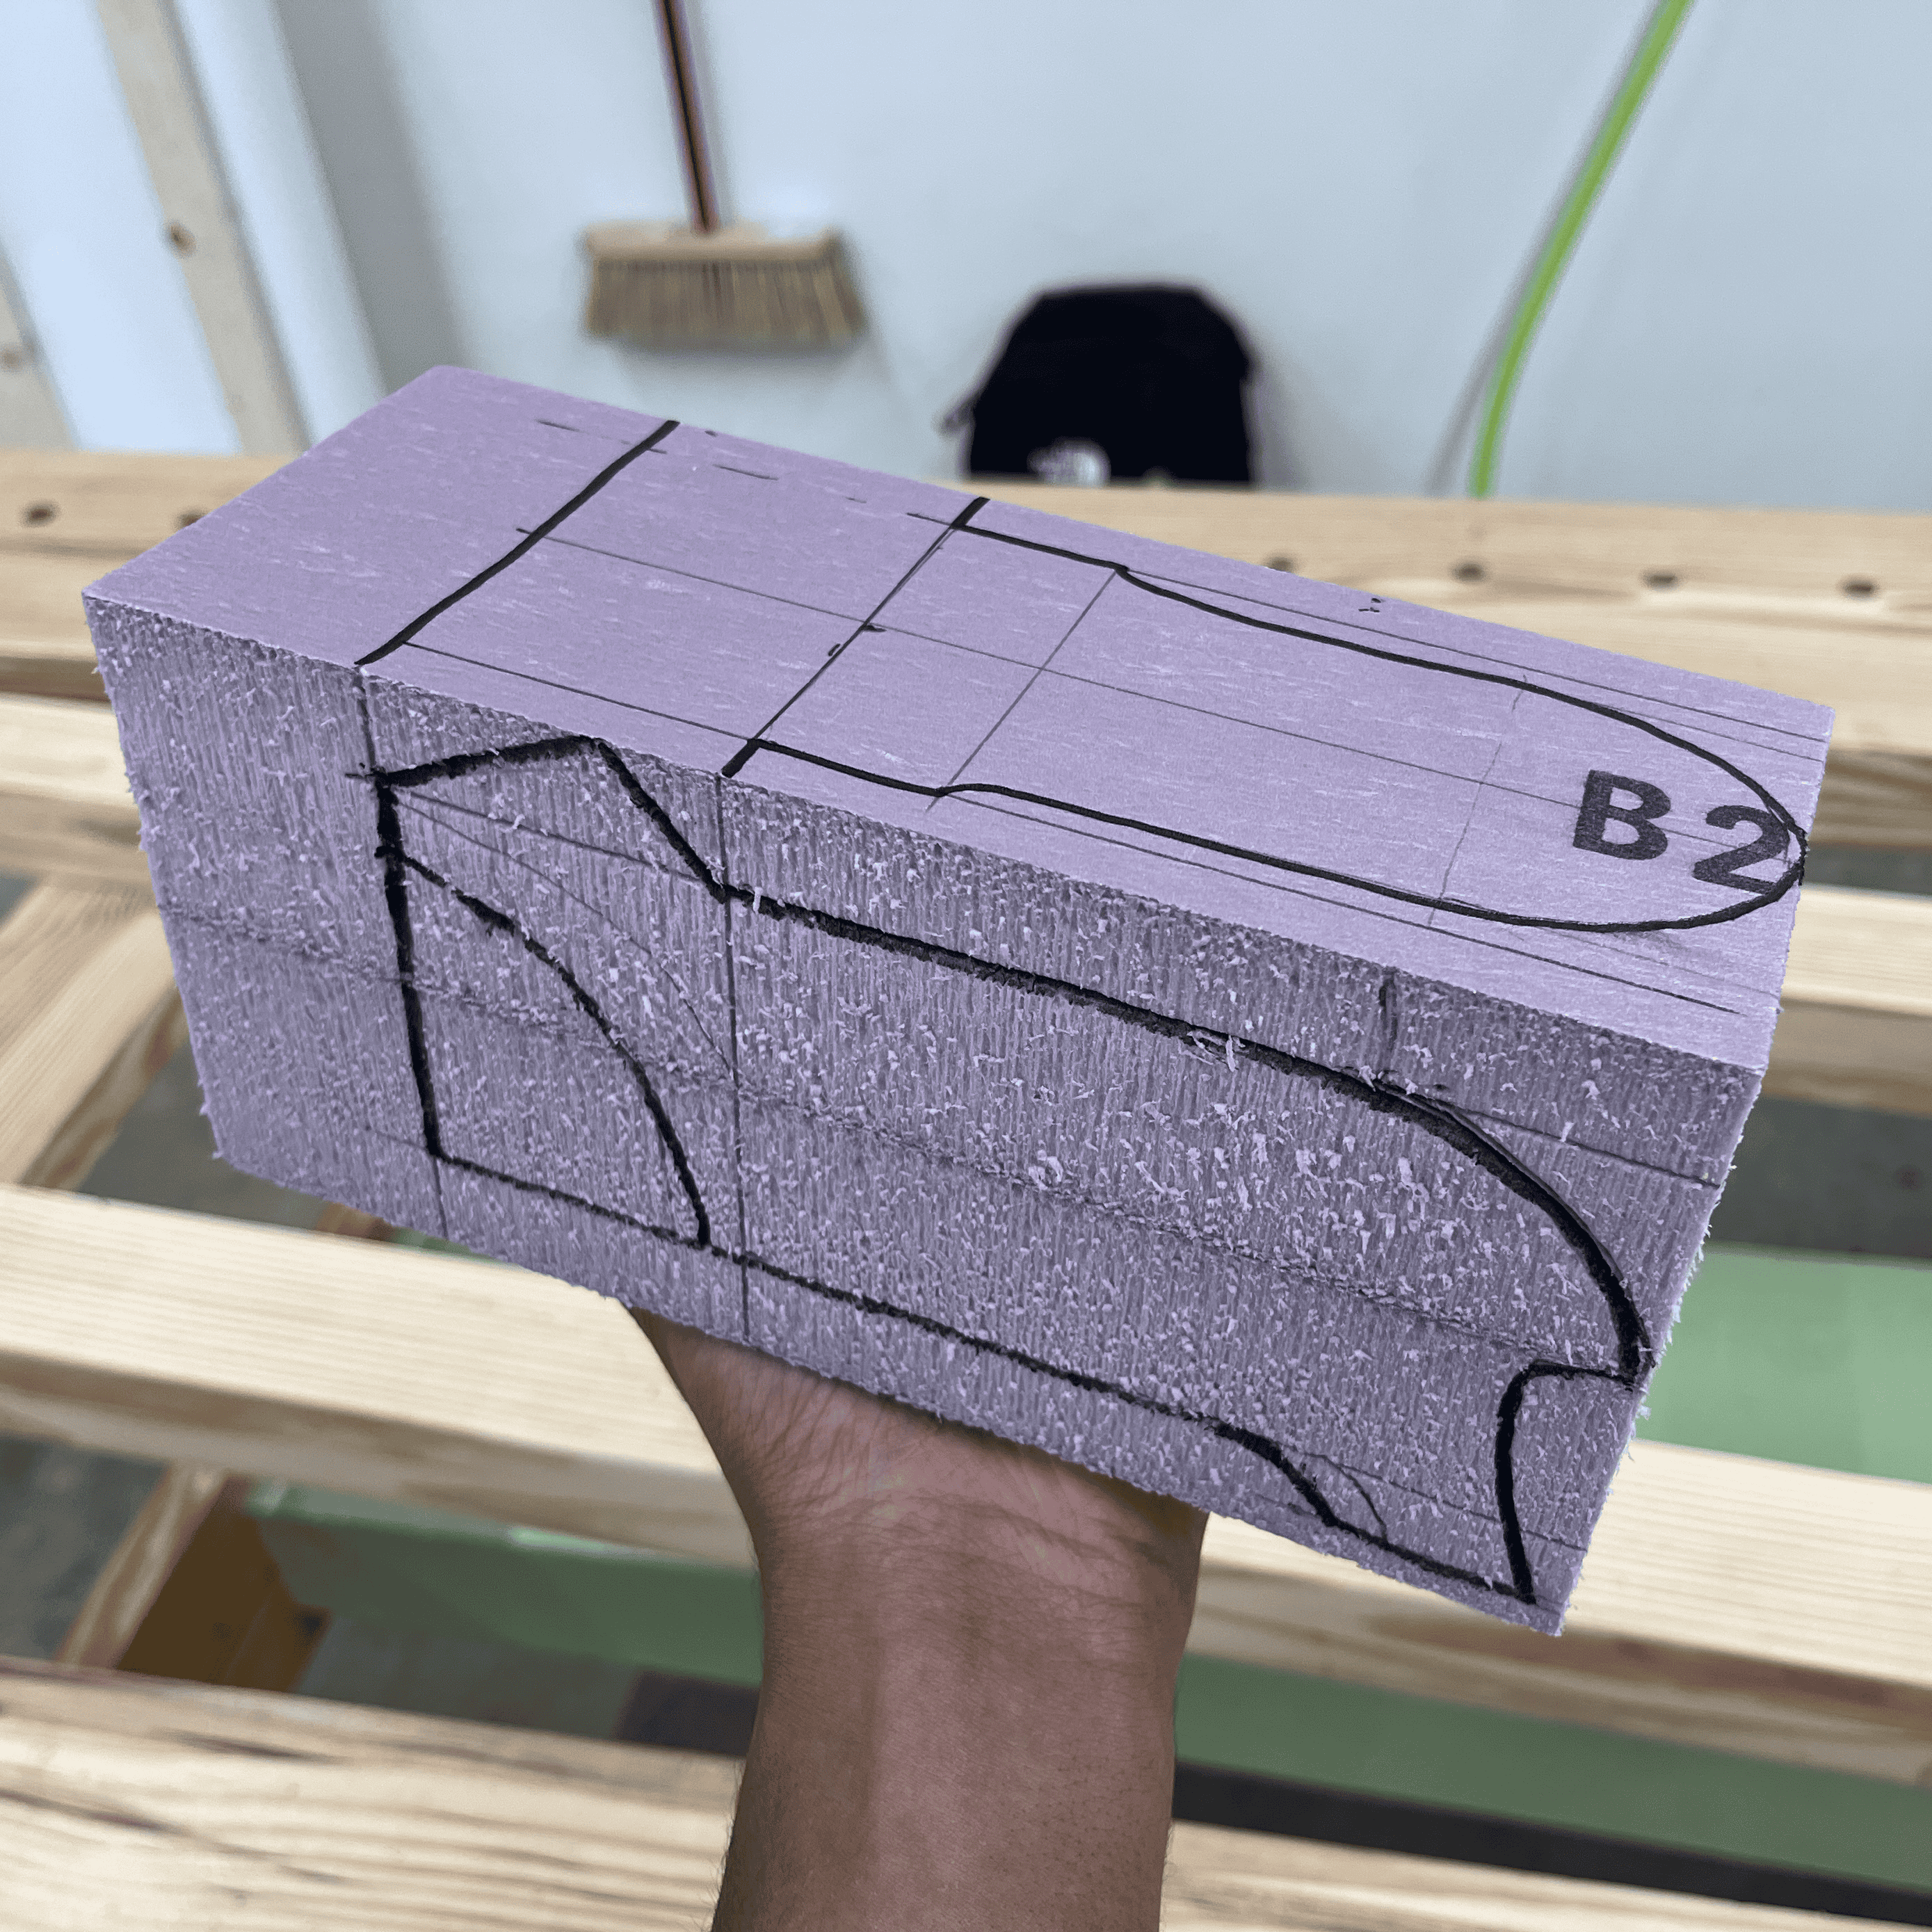
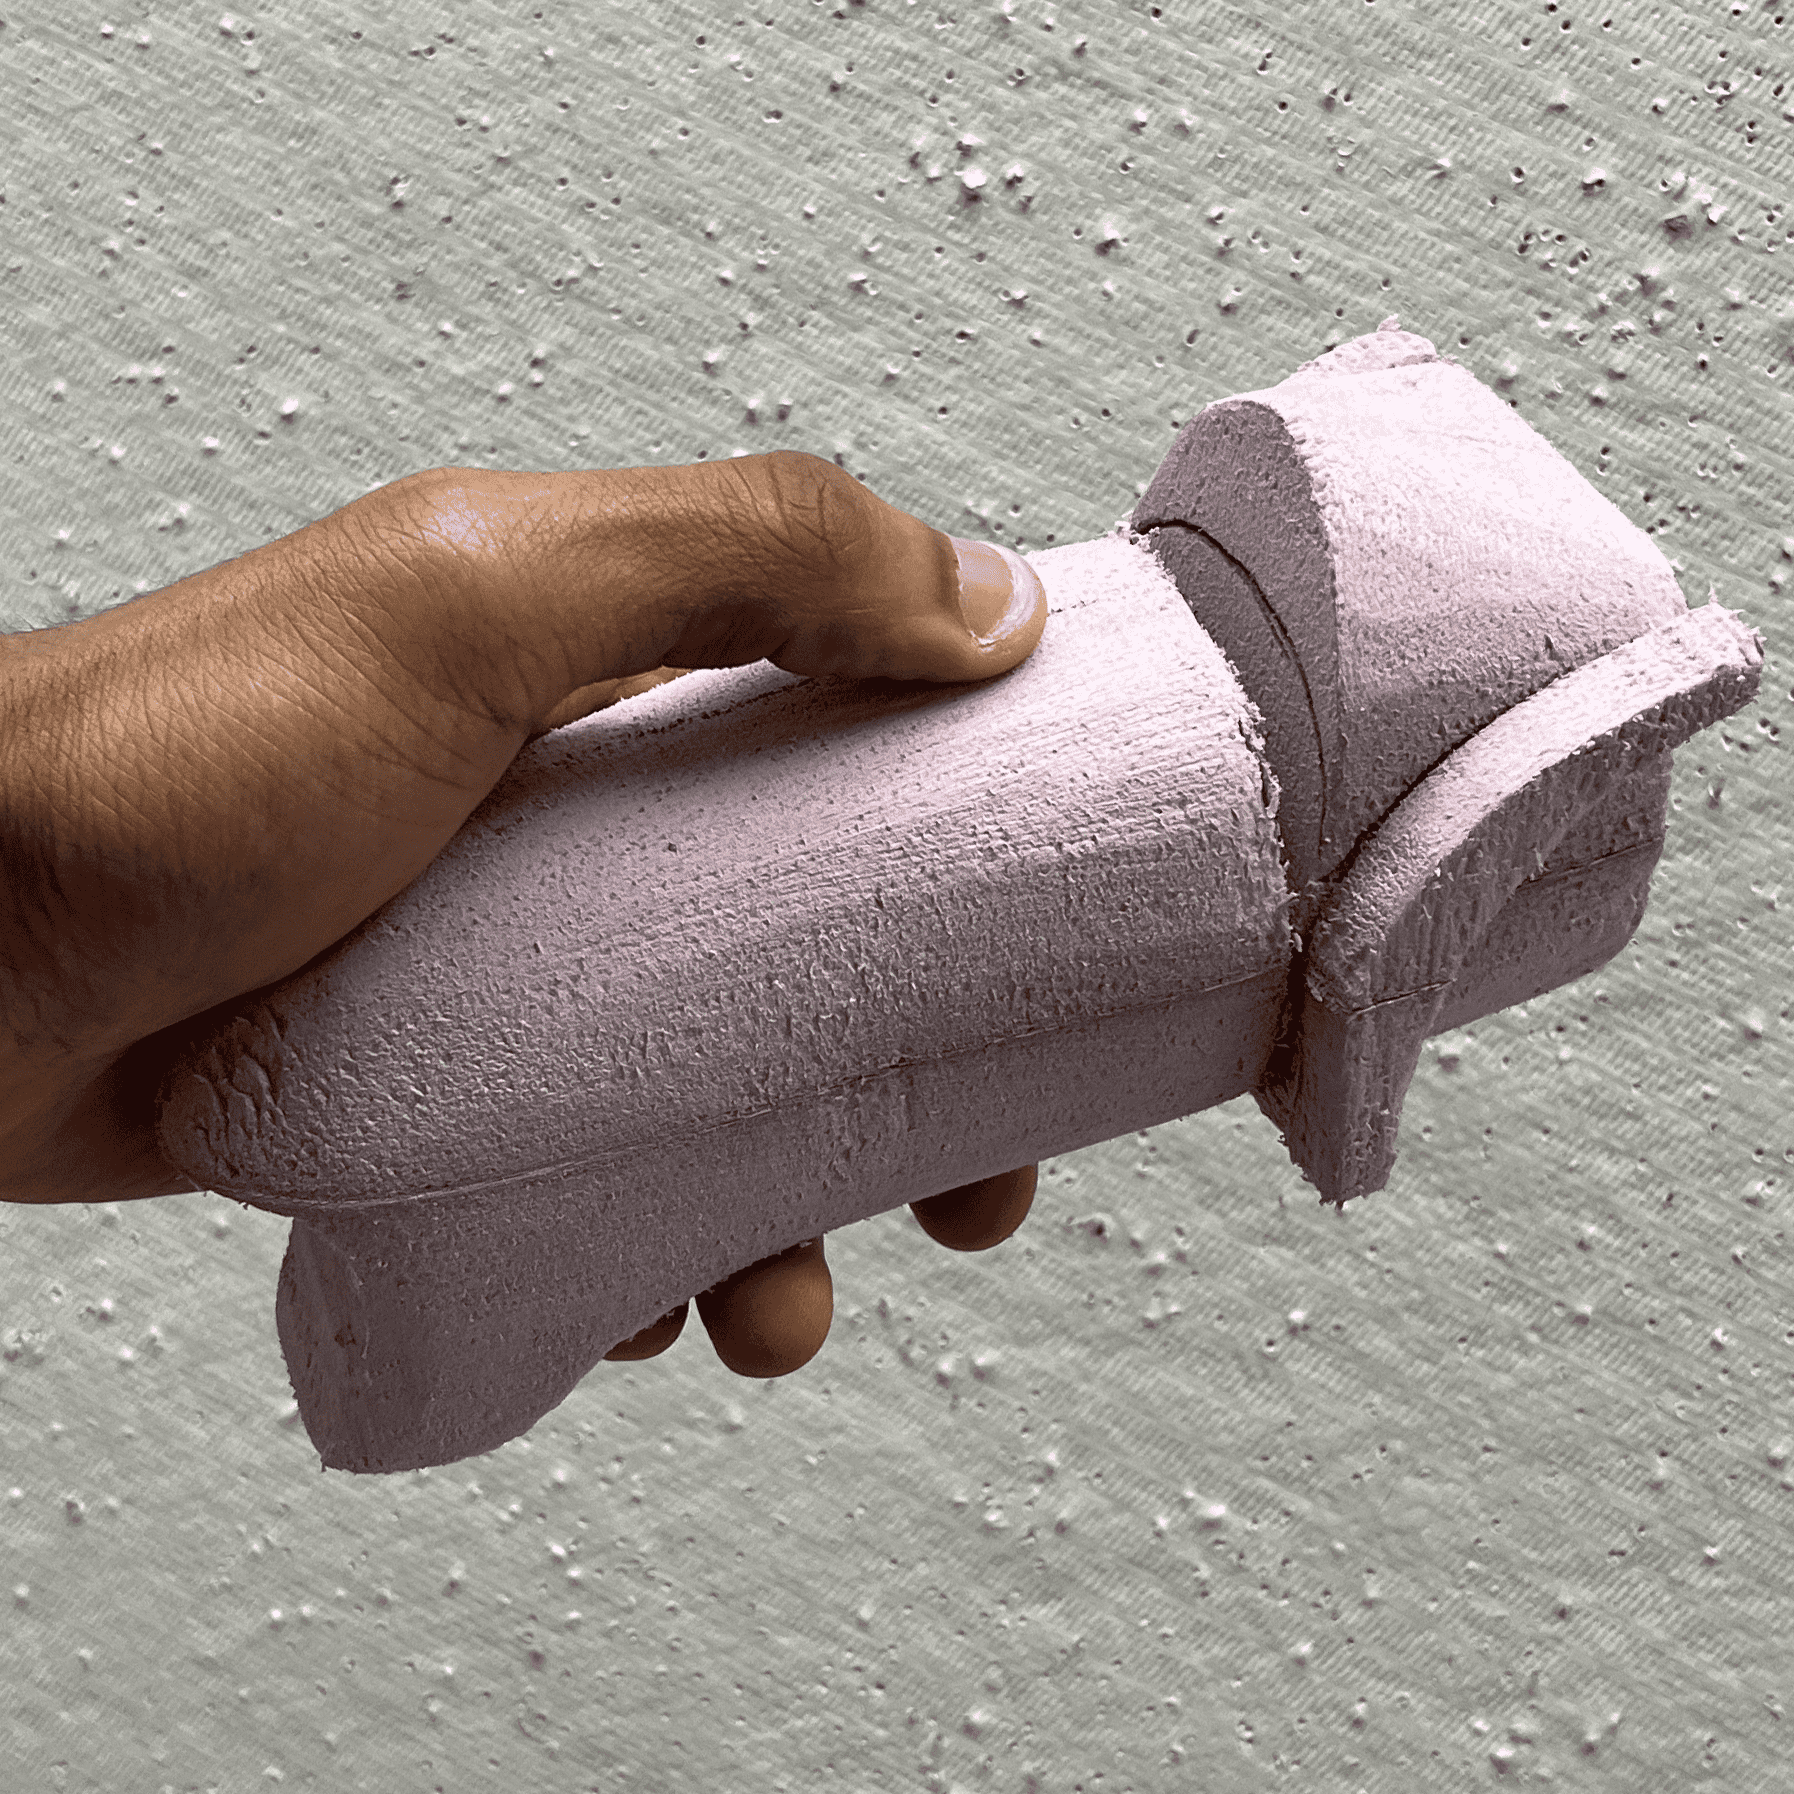
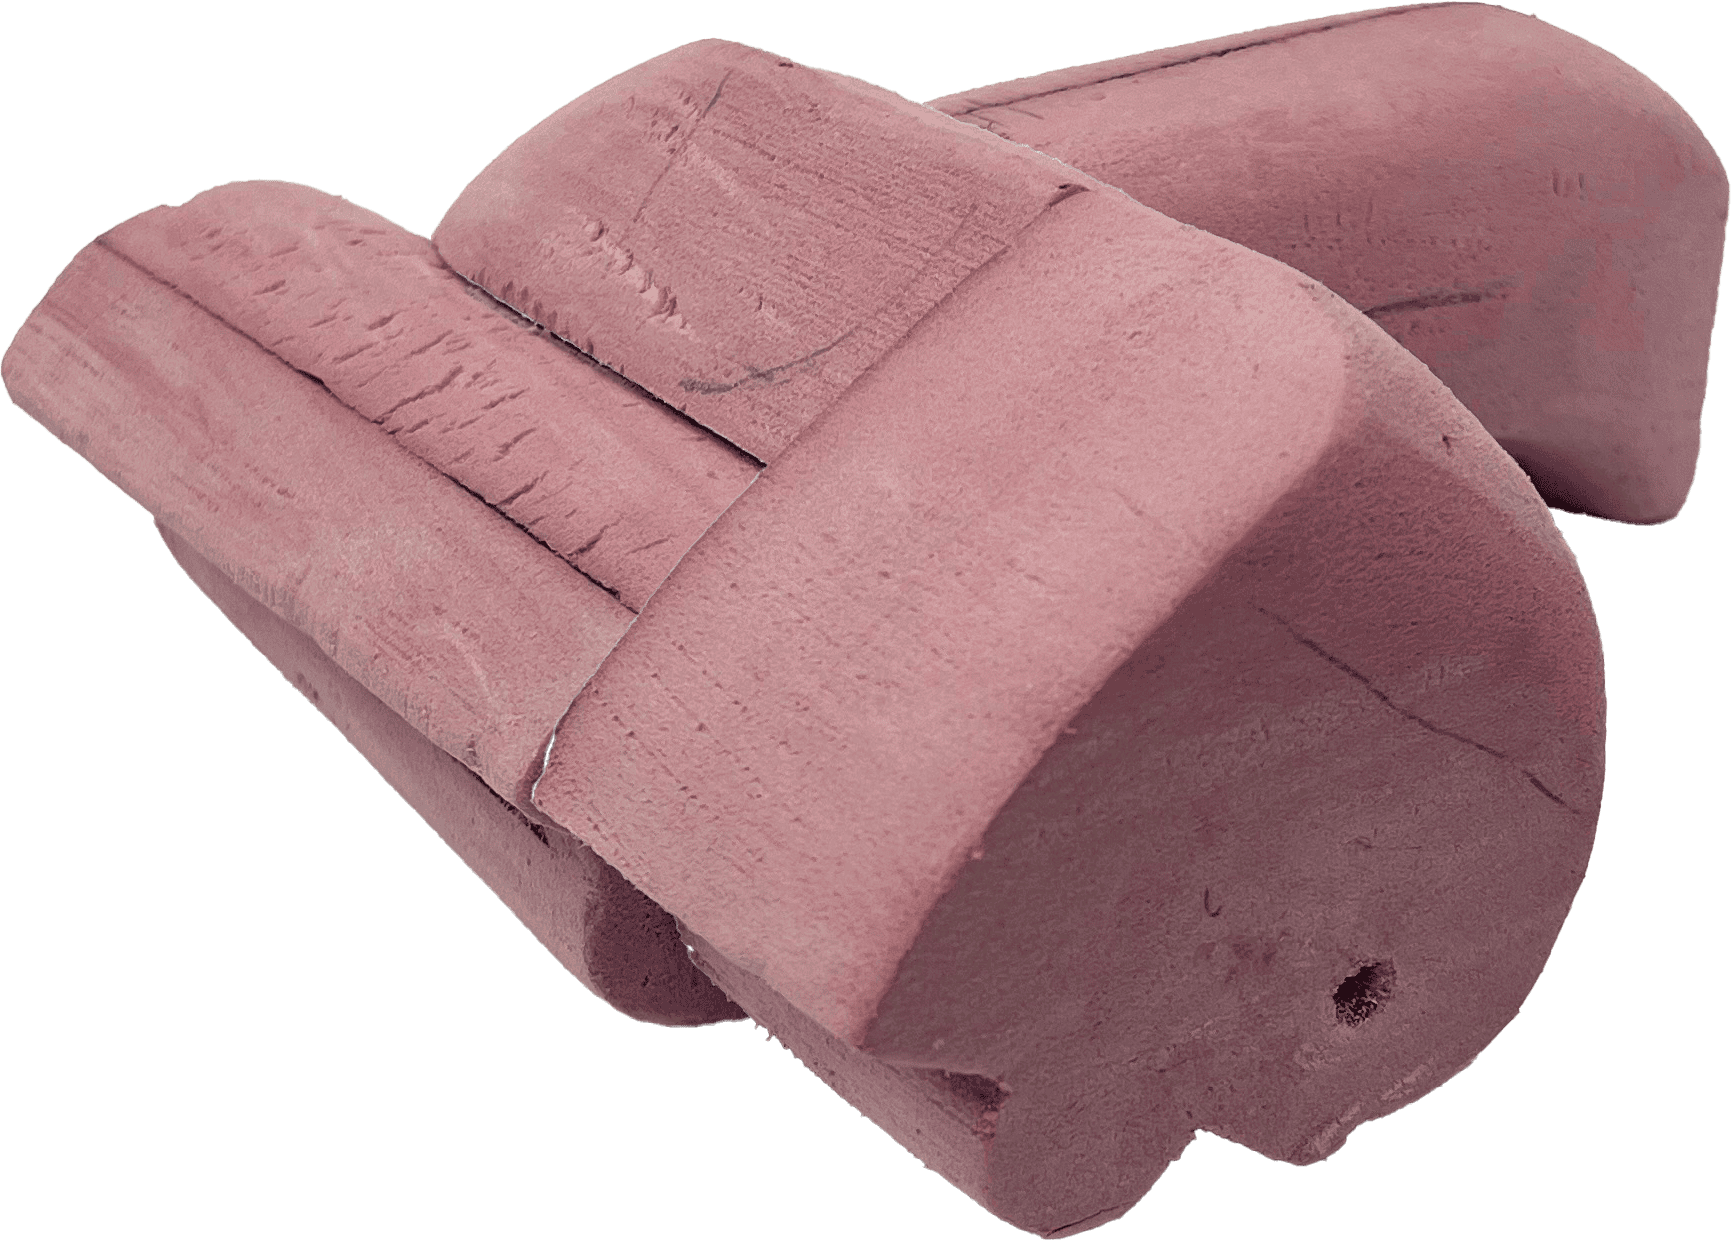
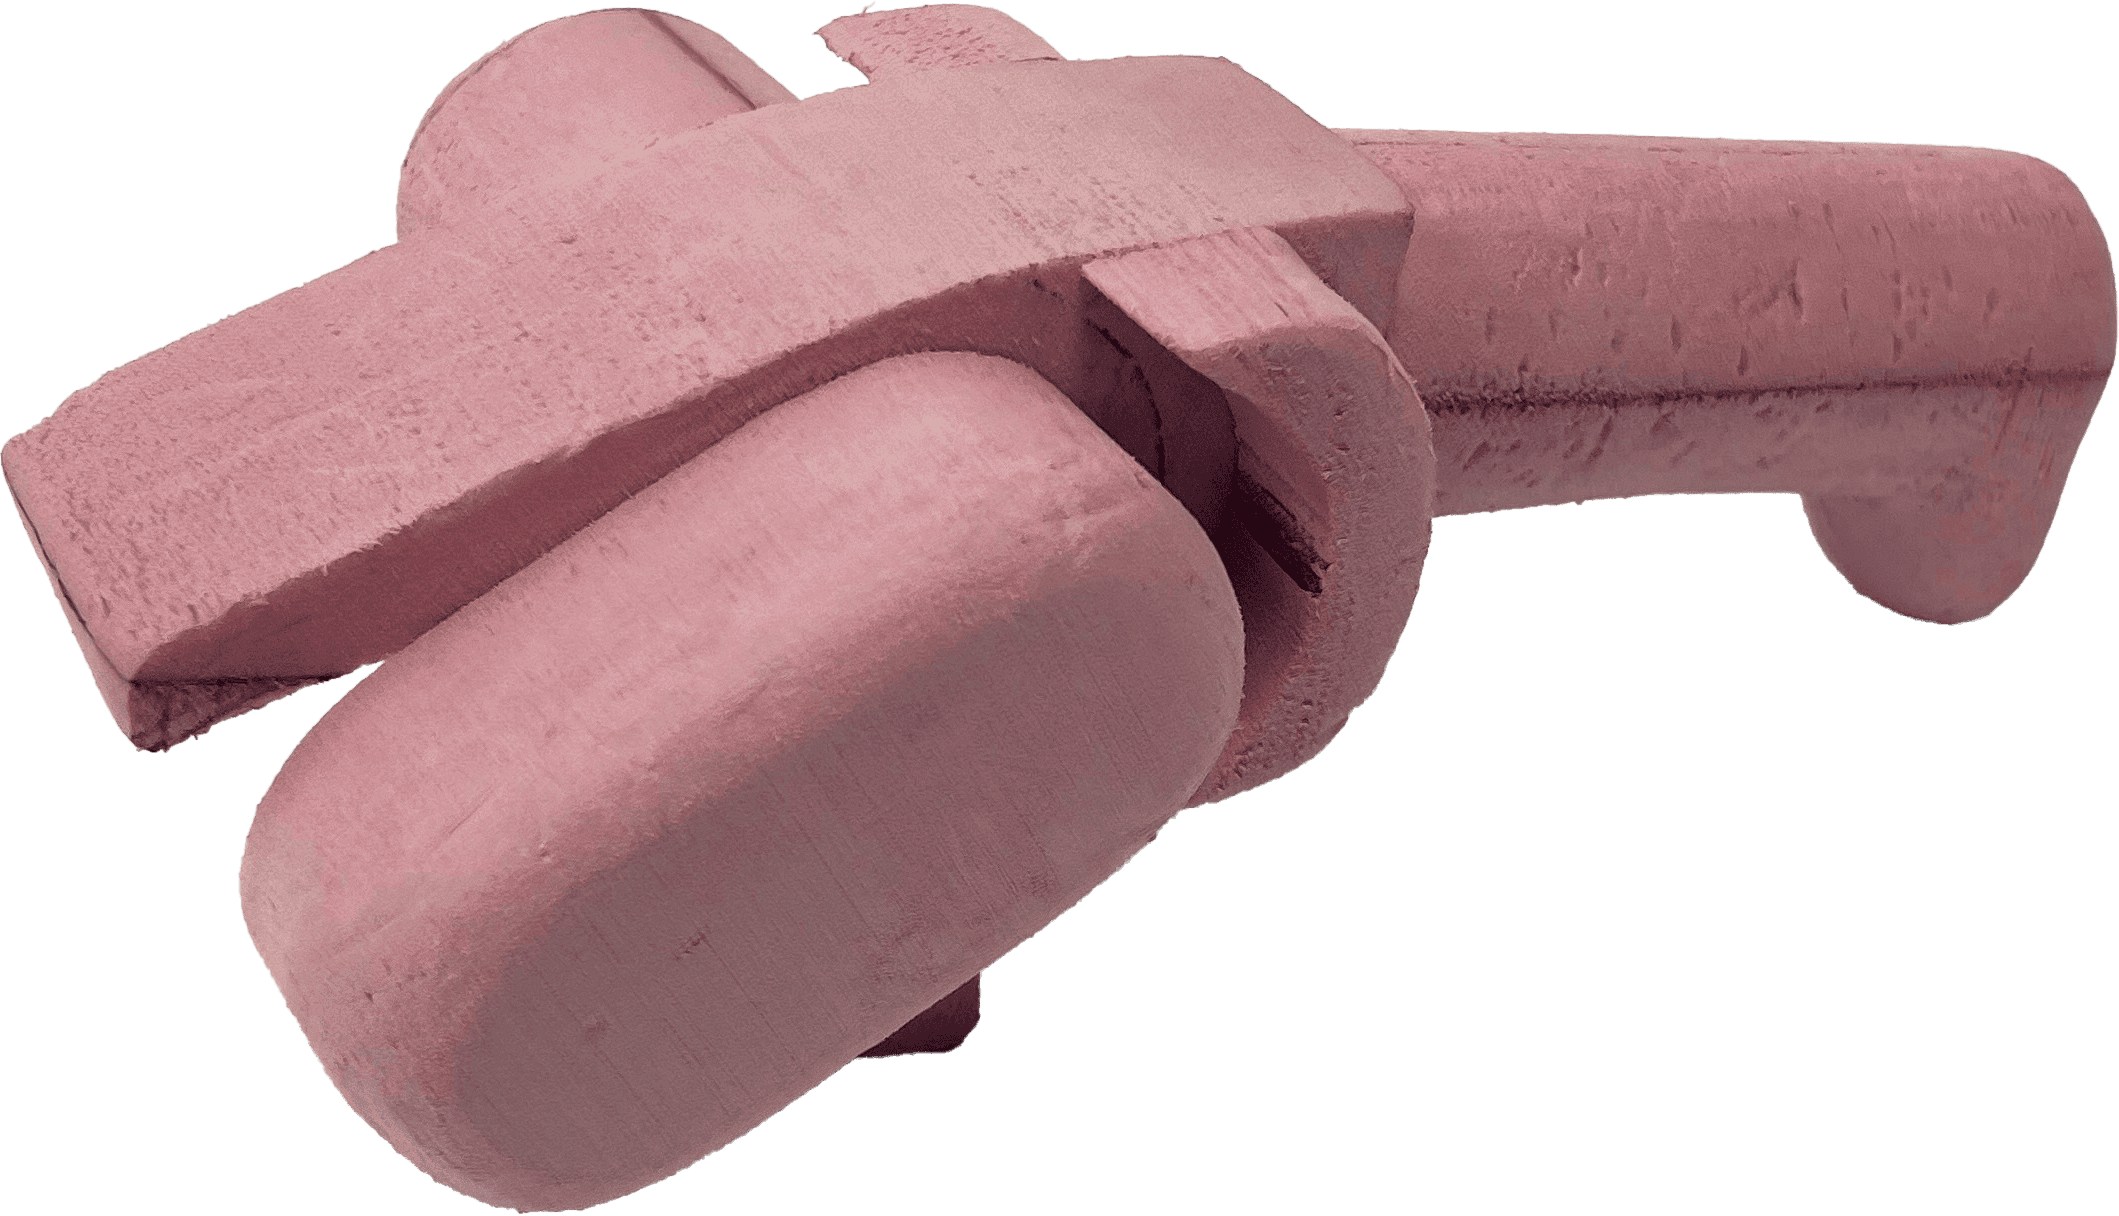
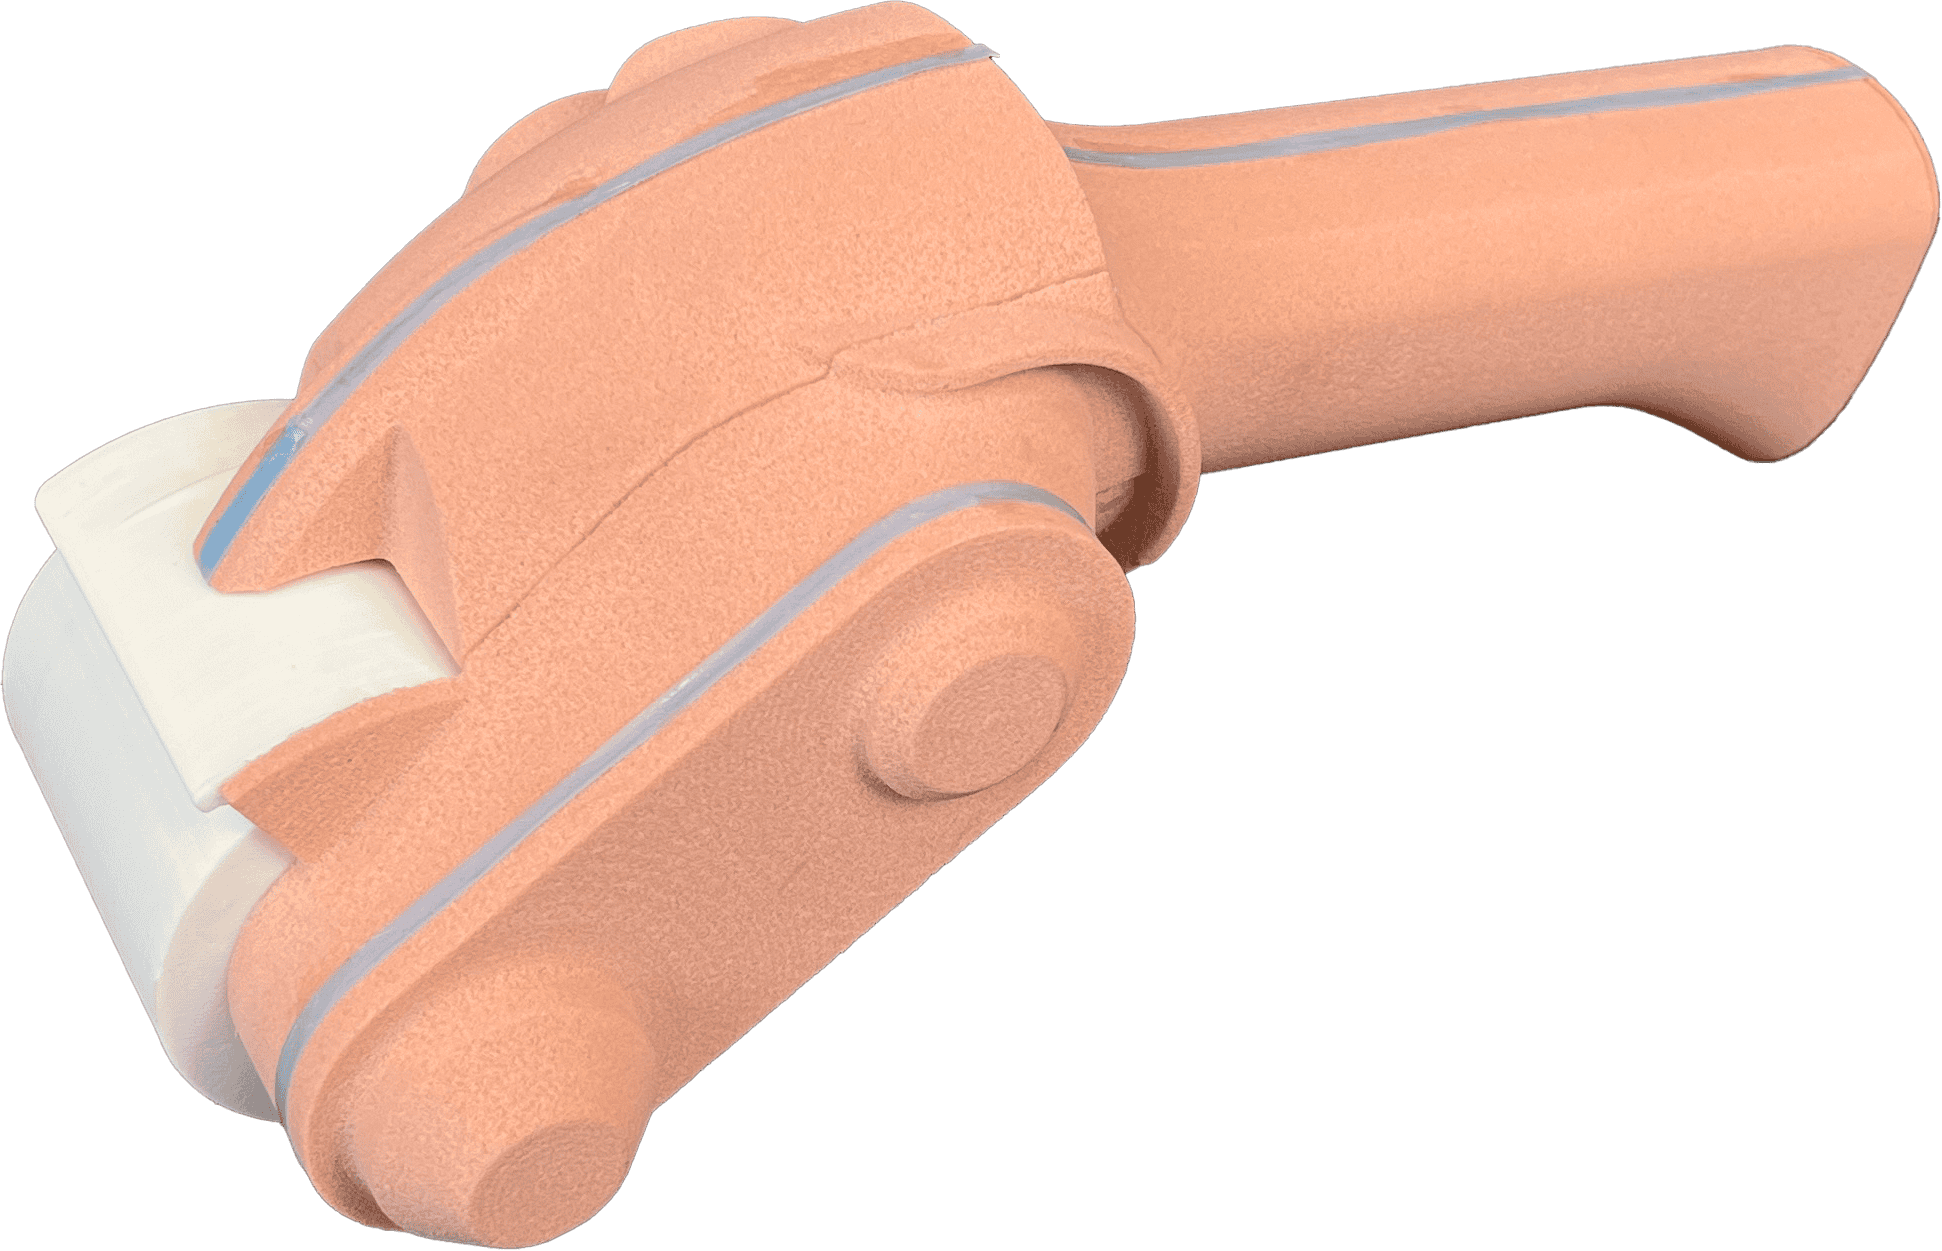
Model #12 - form exploration
The last model done by hand, attempting to sculpt a visually intriguing form out of fifteen pound ren. Note the emphasis on the center of the sanding sleeve's guard.

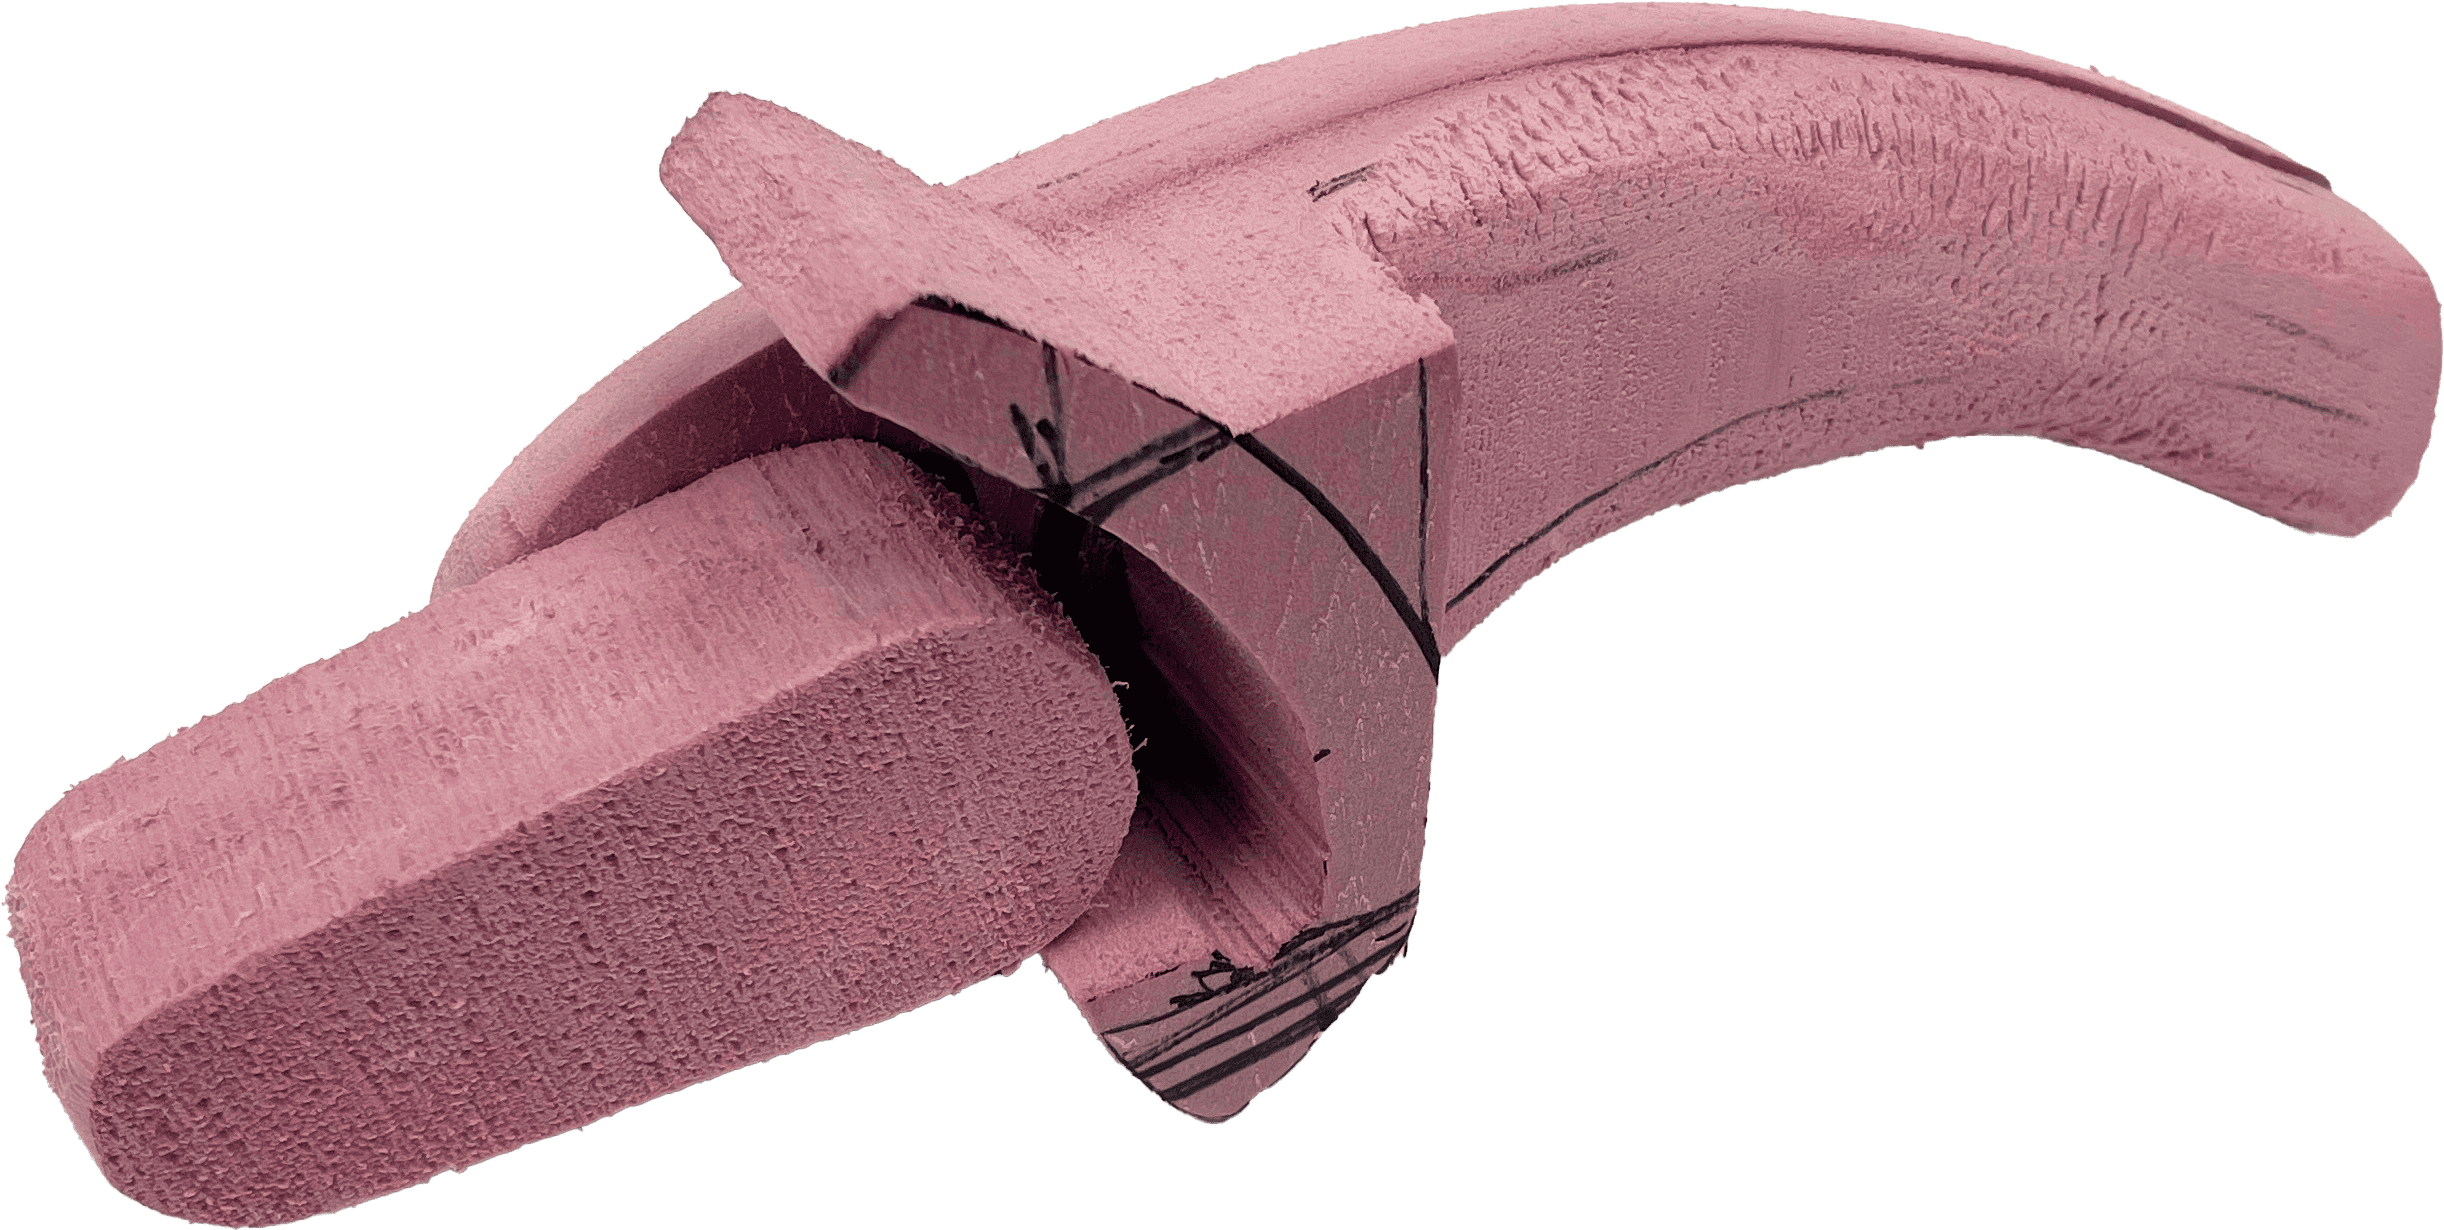
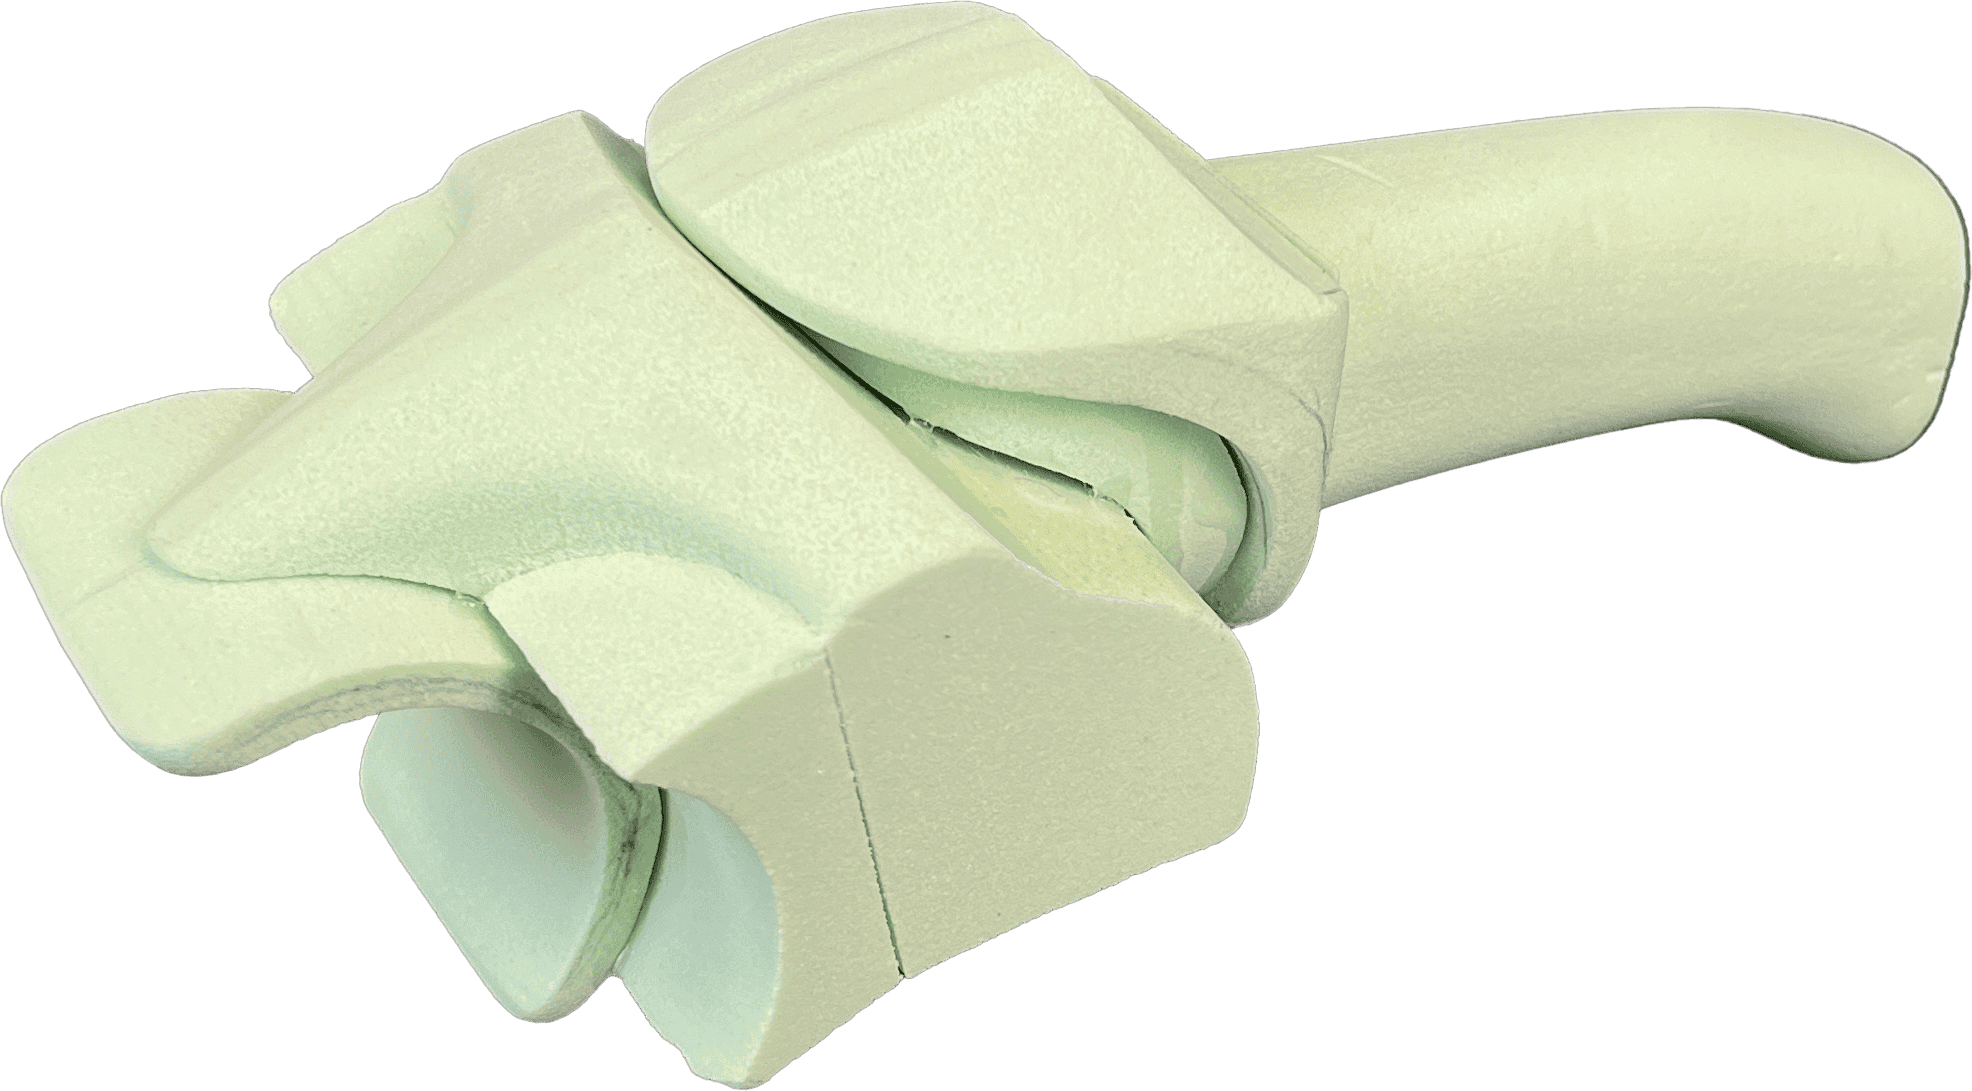
Model #13 - mold breakup
A CNC-milled model with PLA parts, marked up with tape to illustrate where the molds would part in manufacturing. Thirty-pound ren was used for this model.
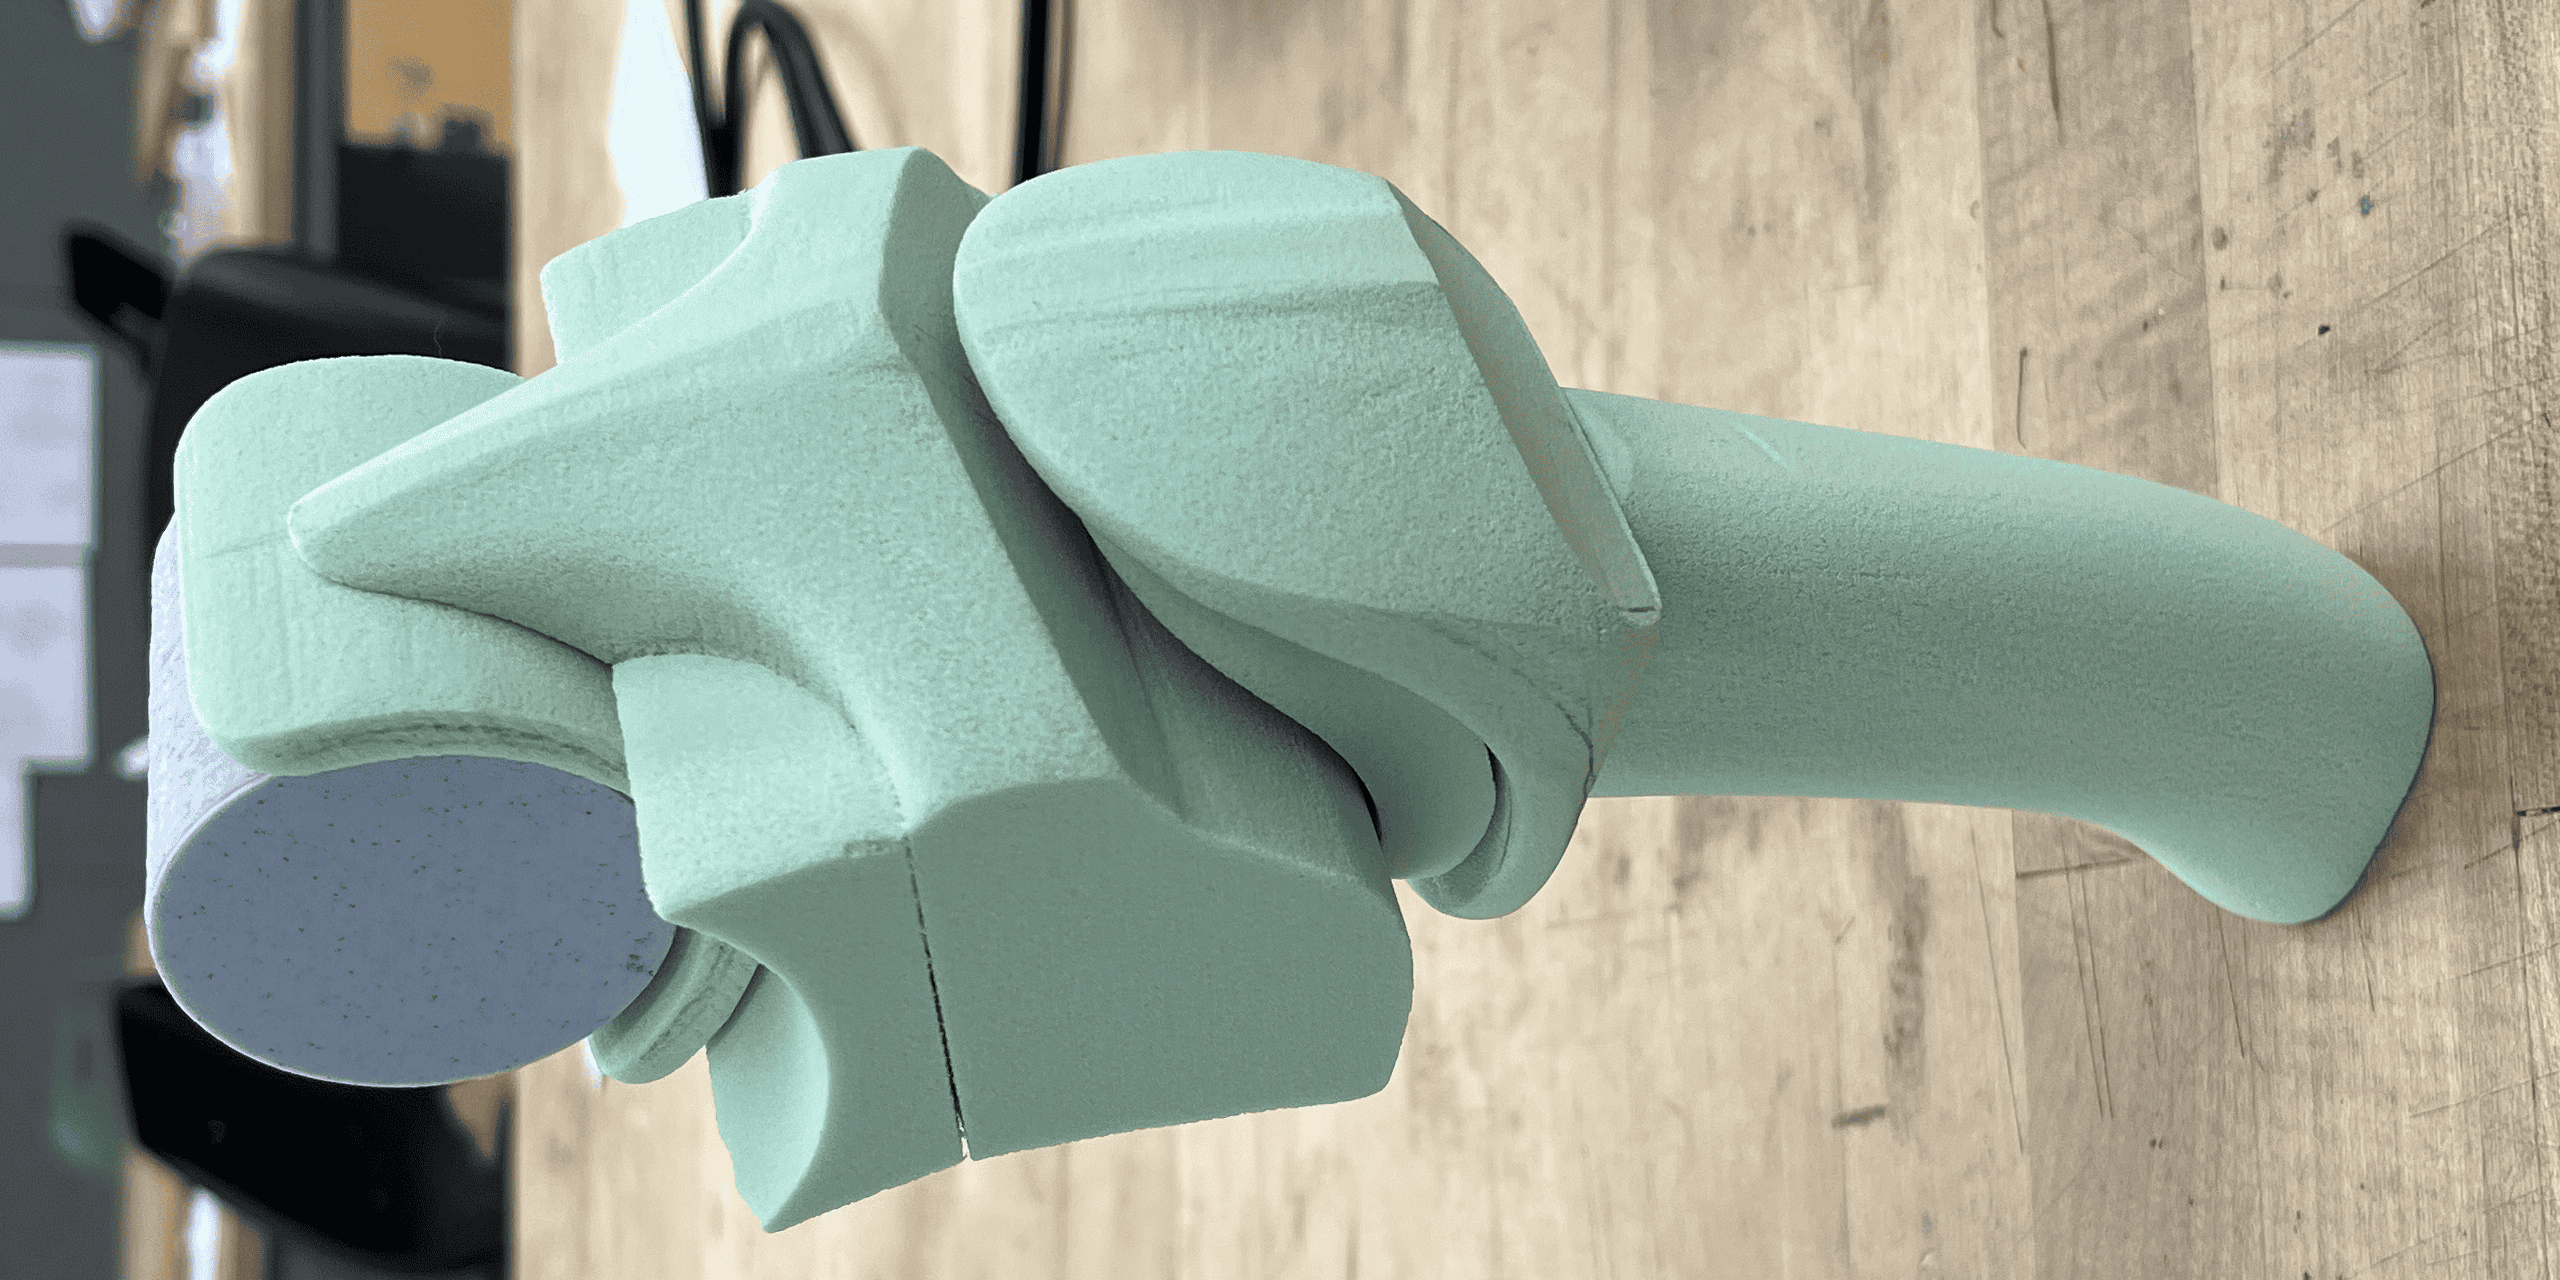
Model #14 - failed
A failed CNC-milled model out of sixty-pound ren. The mill was self-done, and had ran into several issues during its development. However, much was learned from the process.

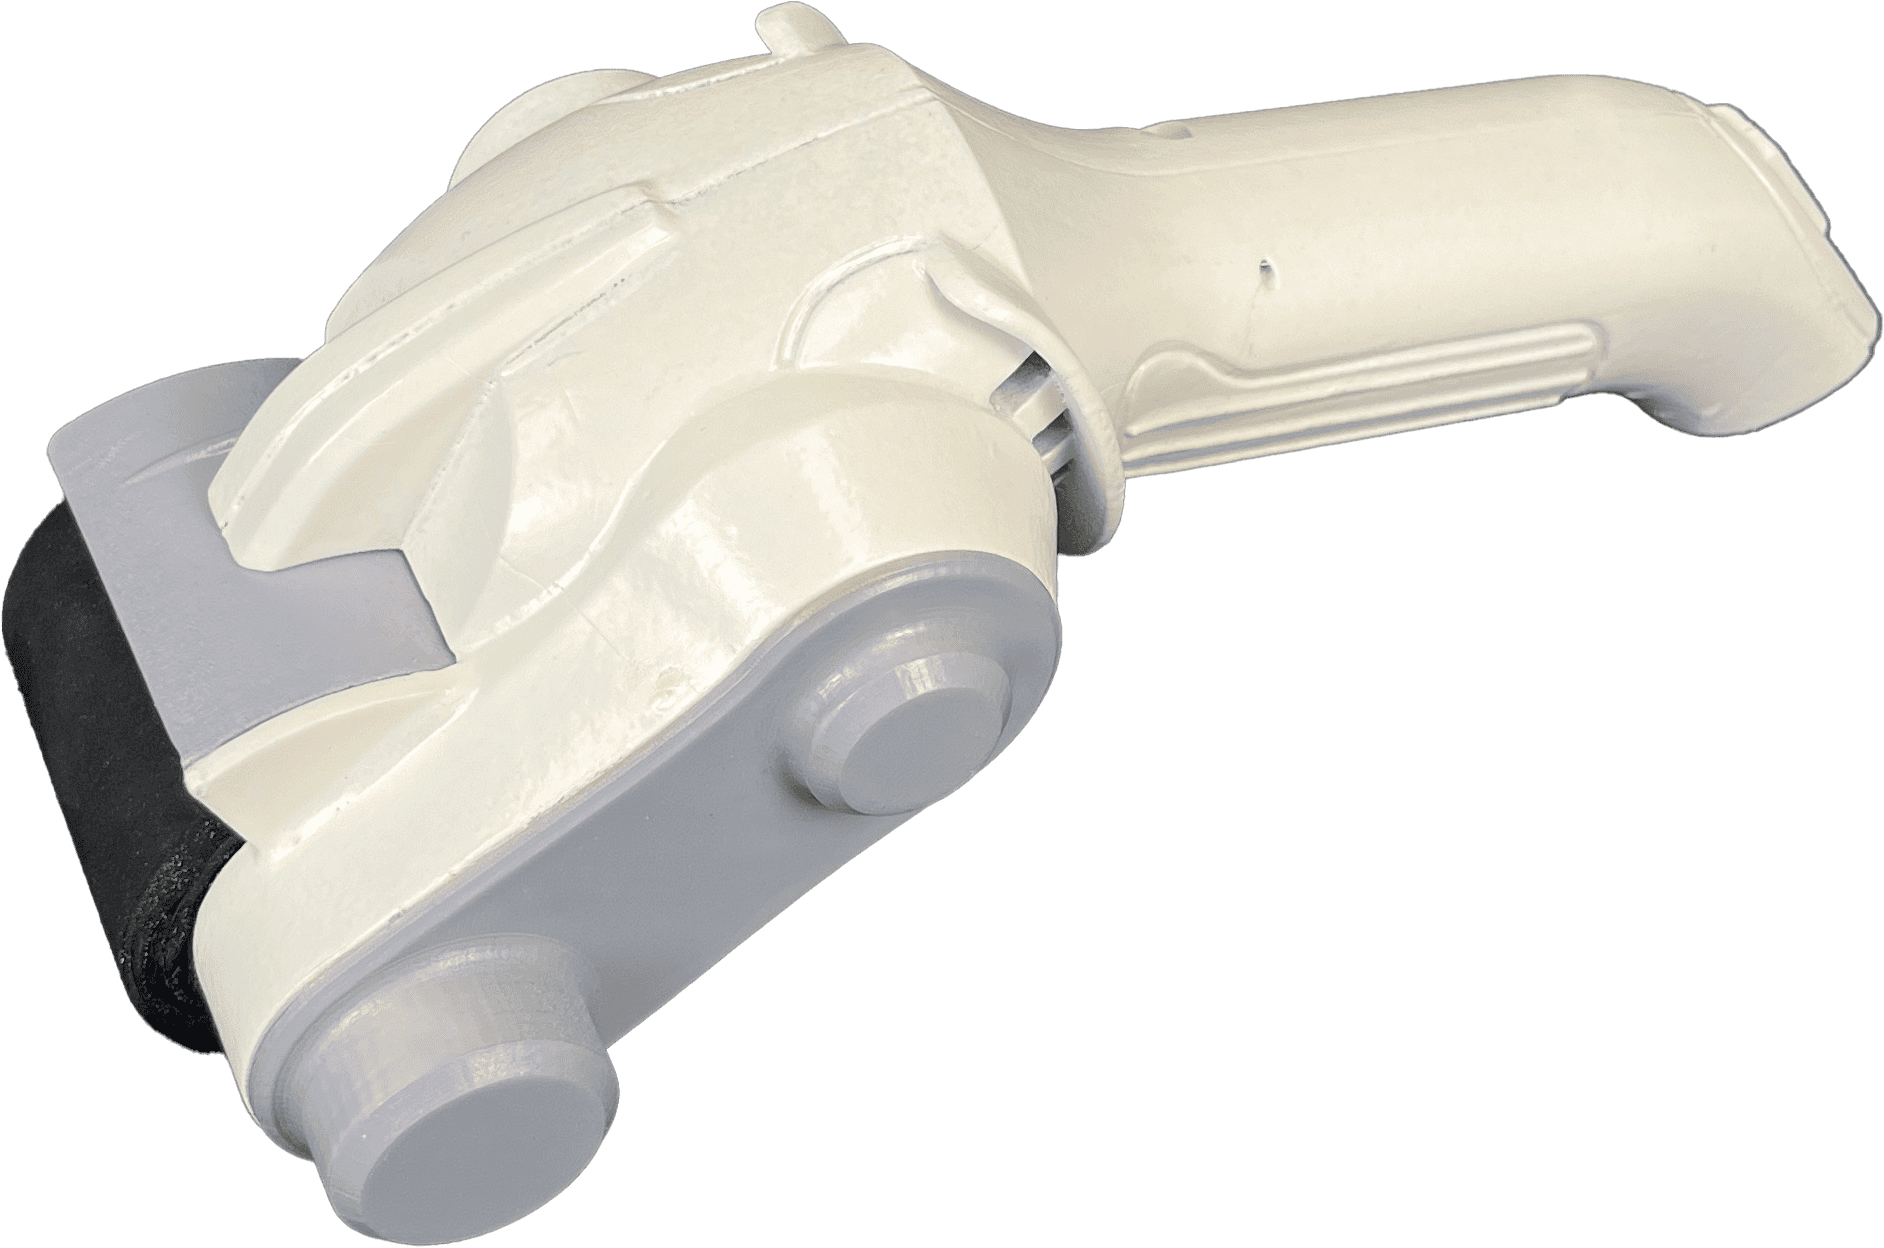
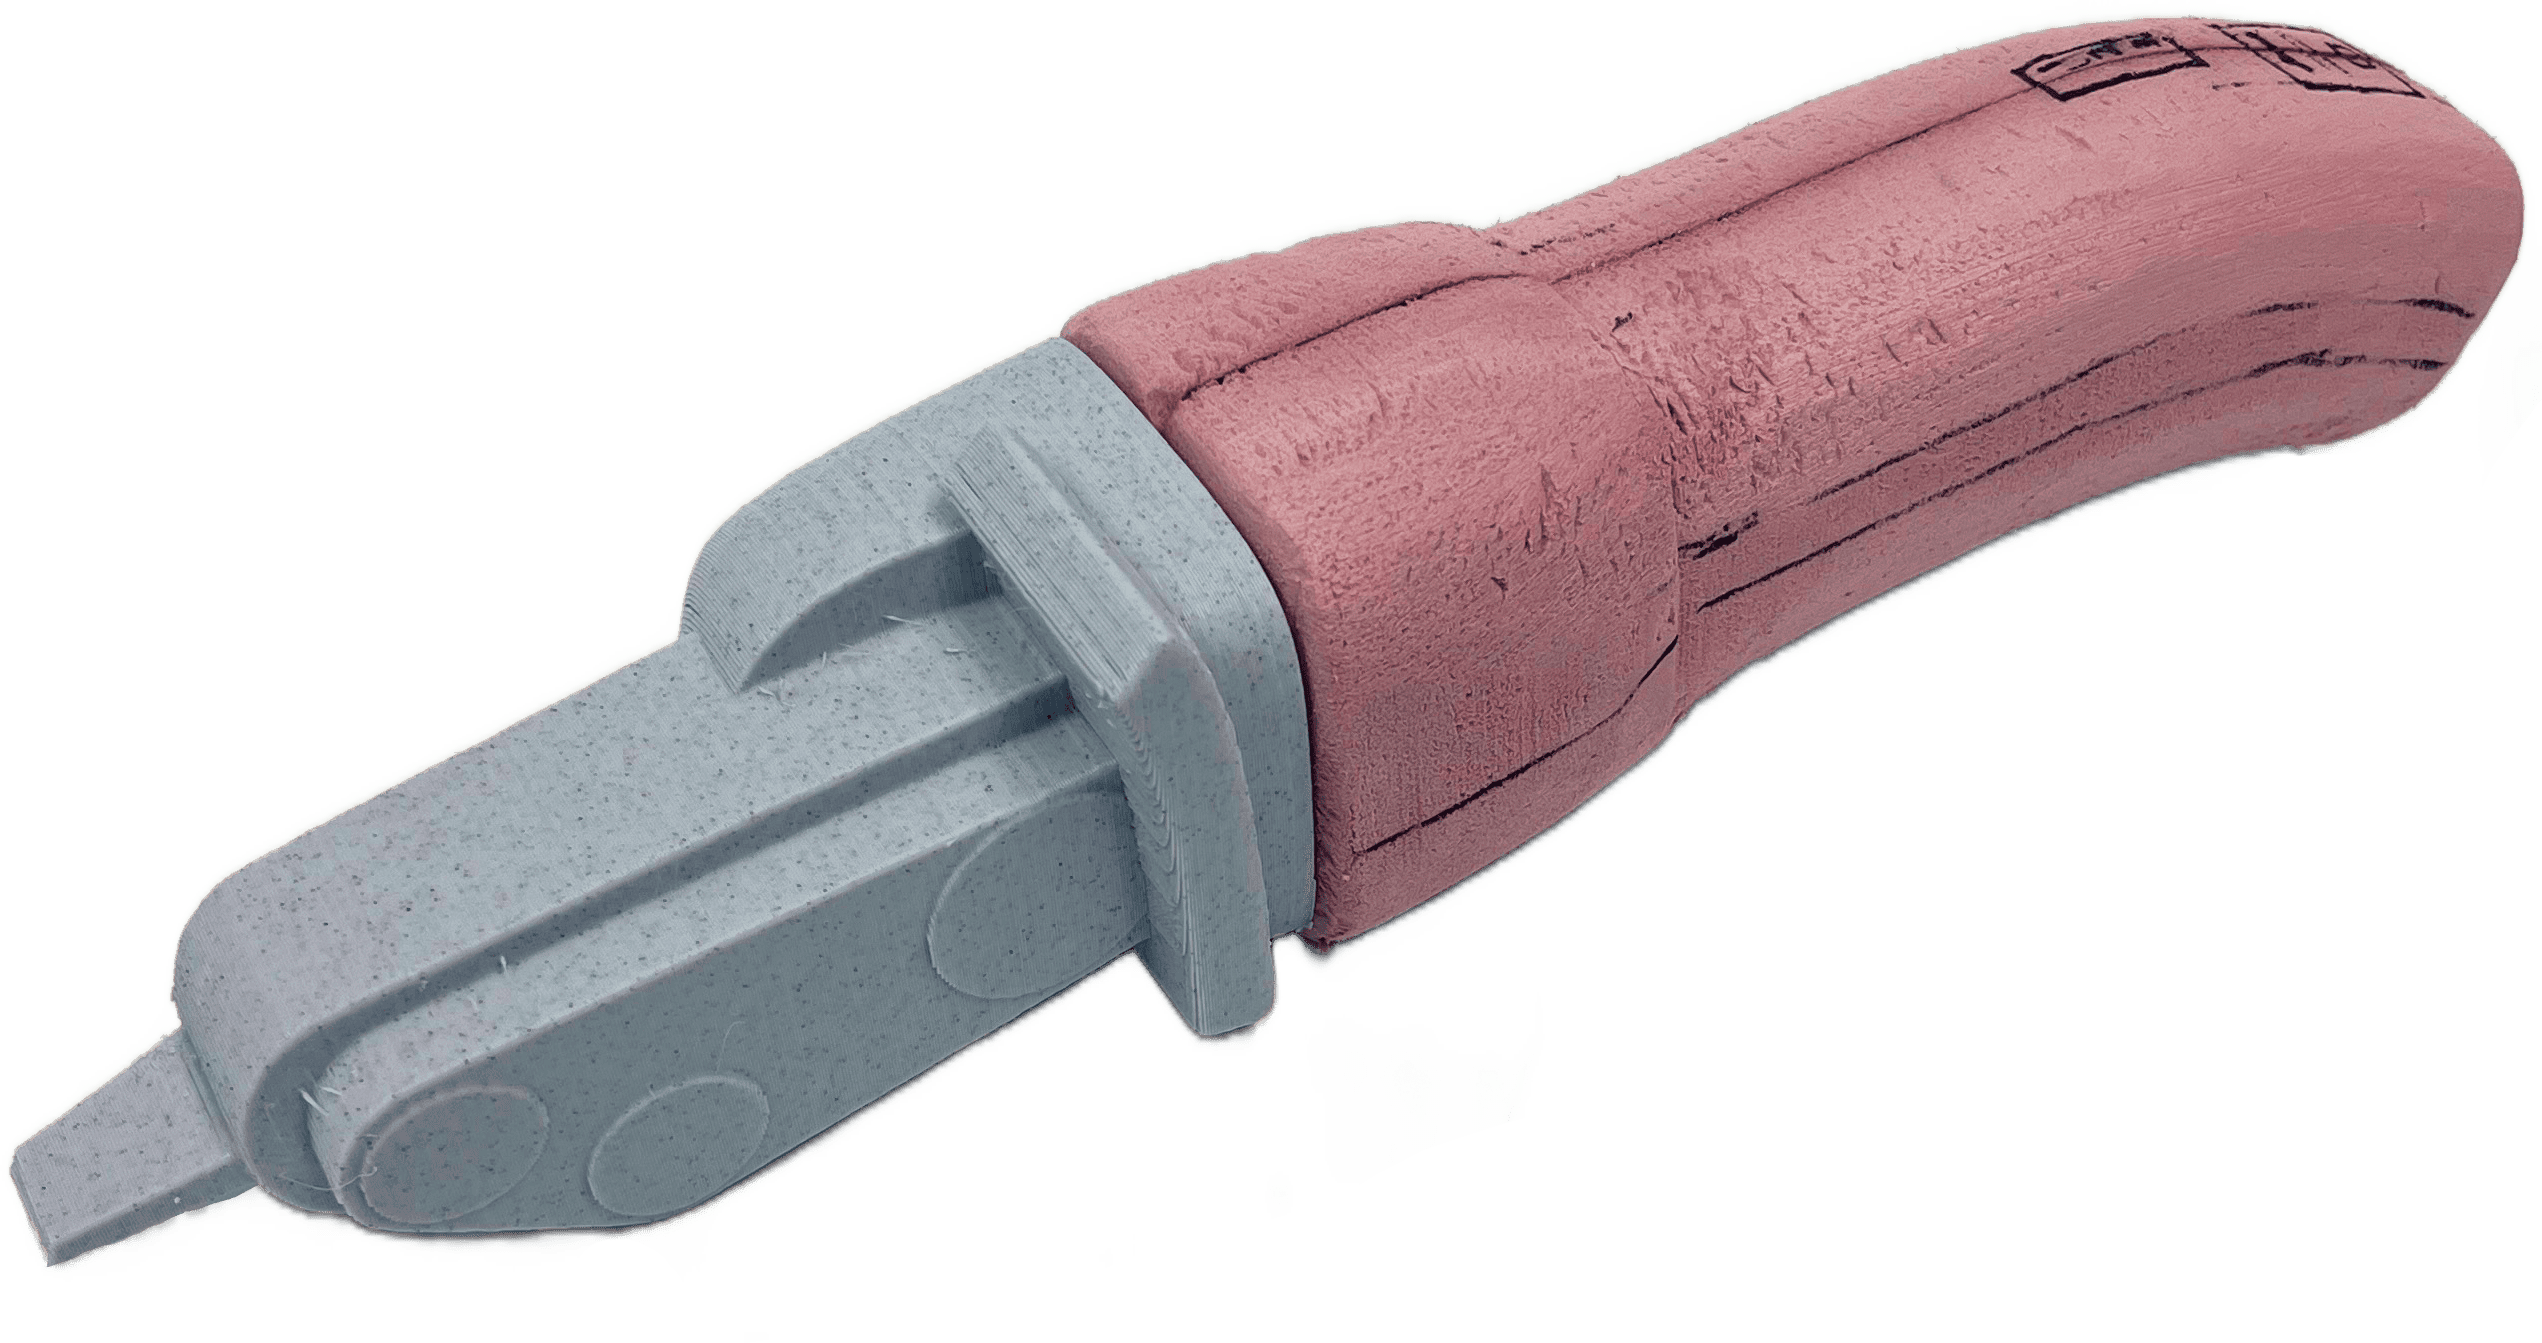
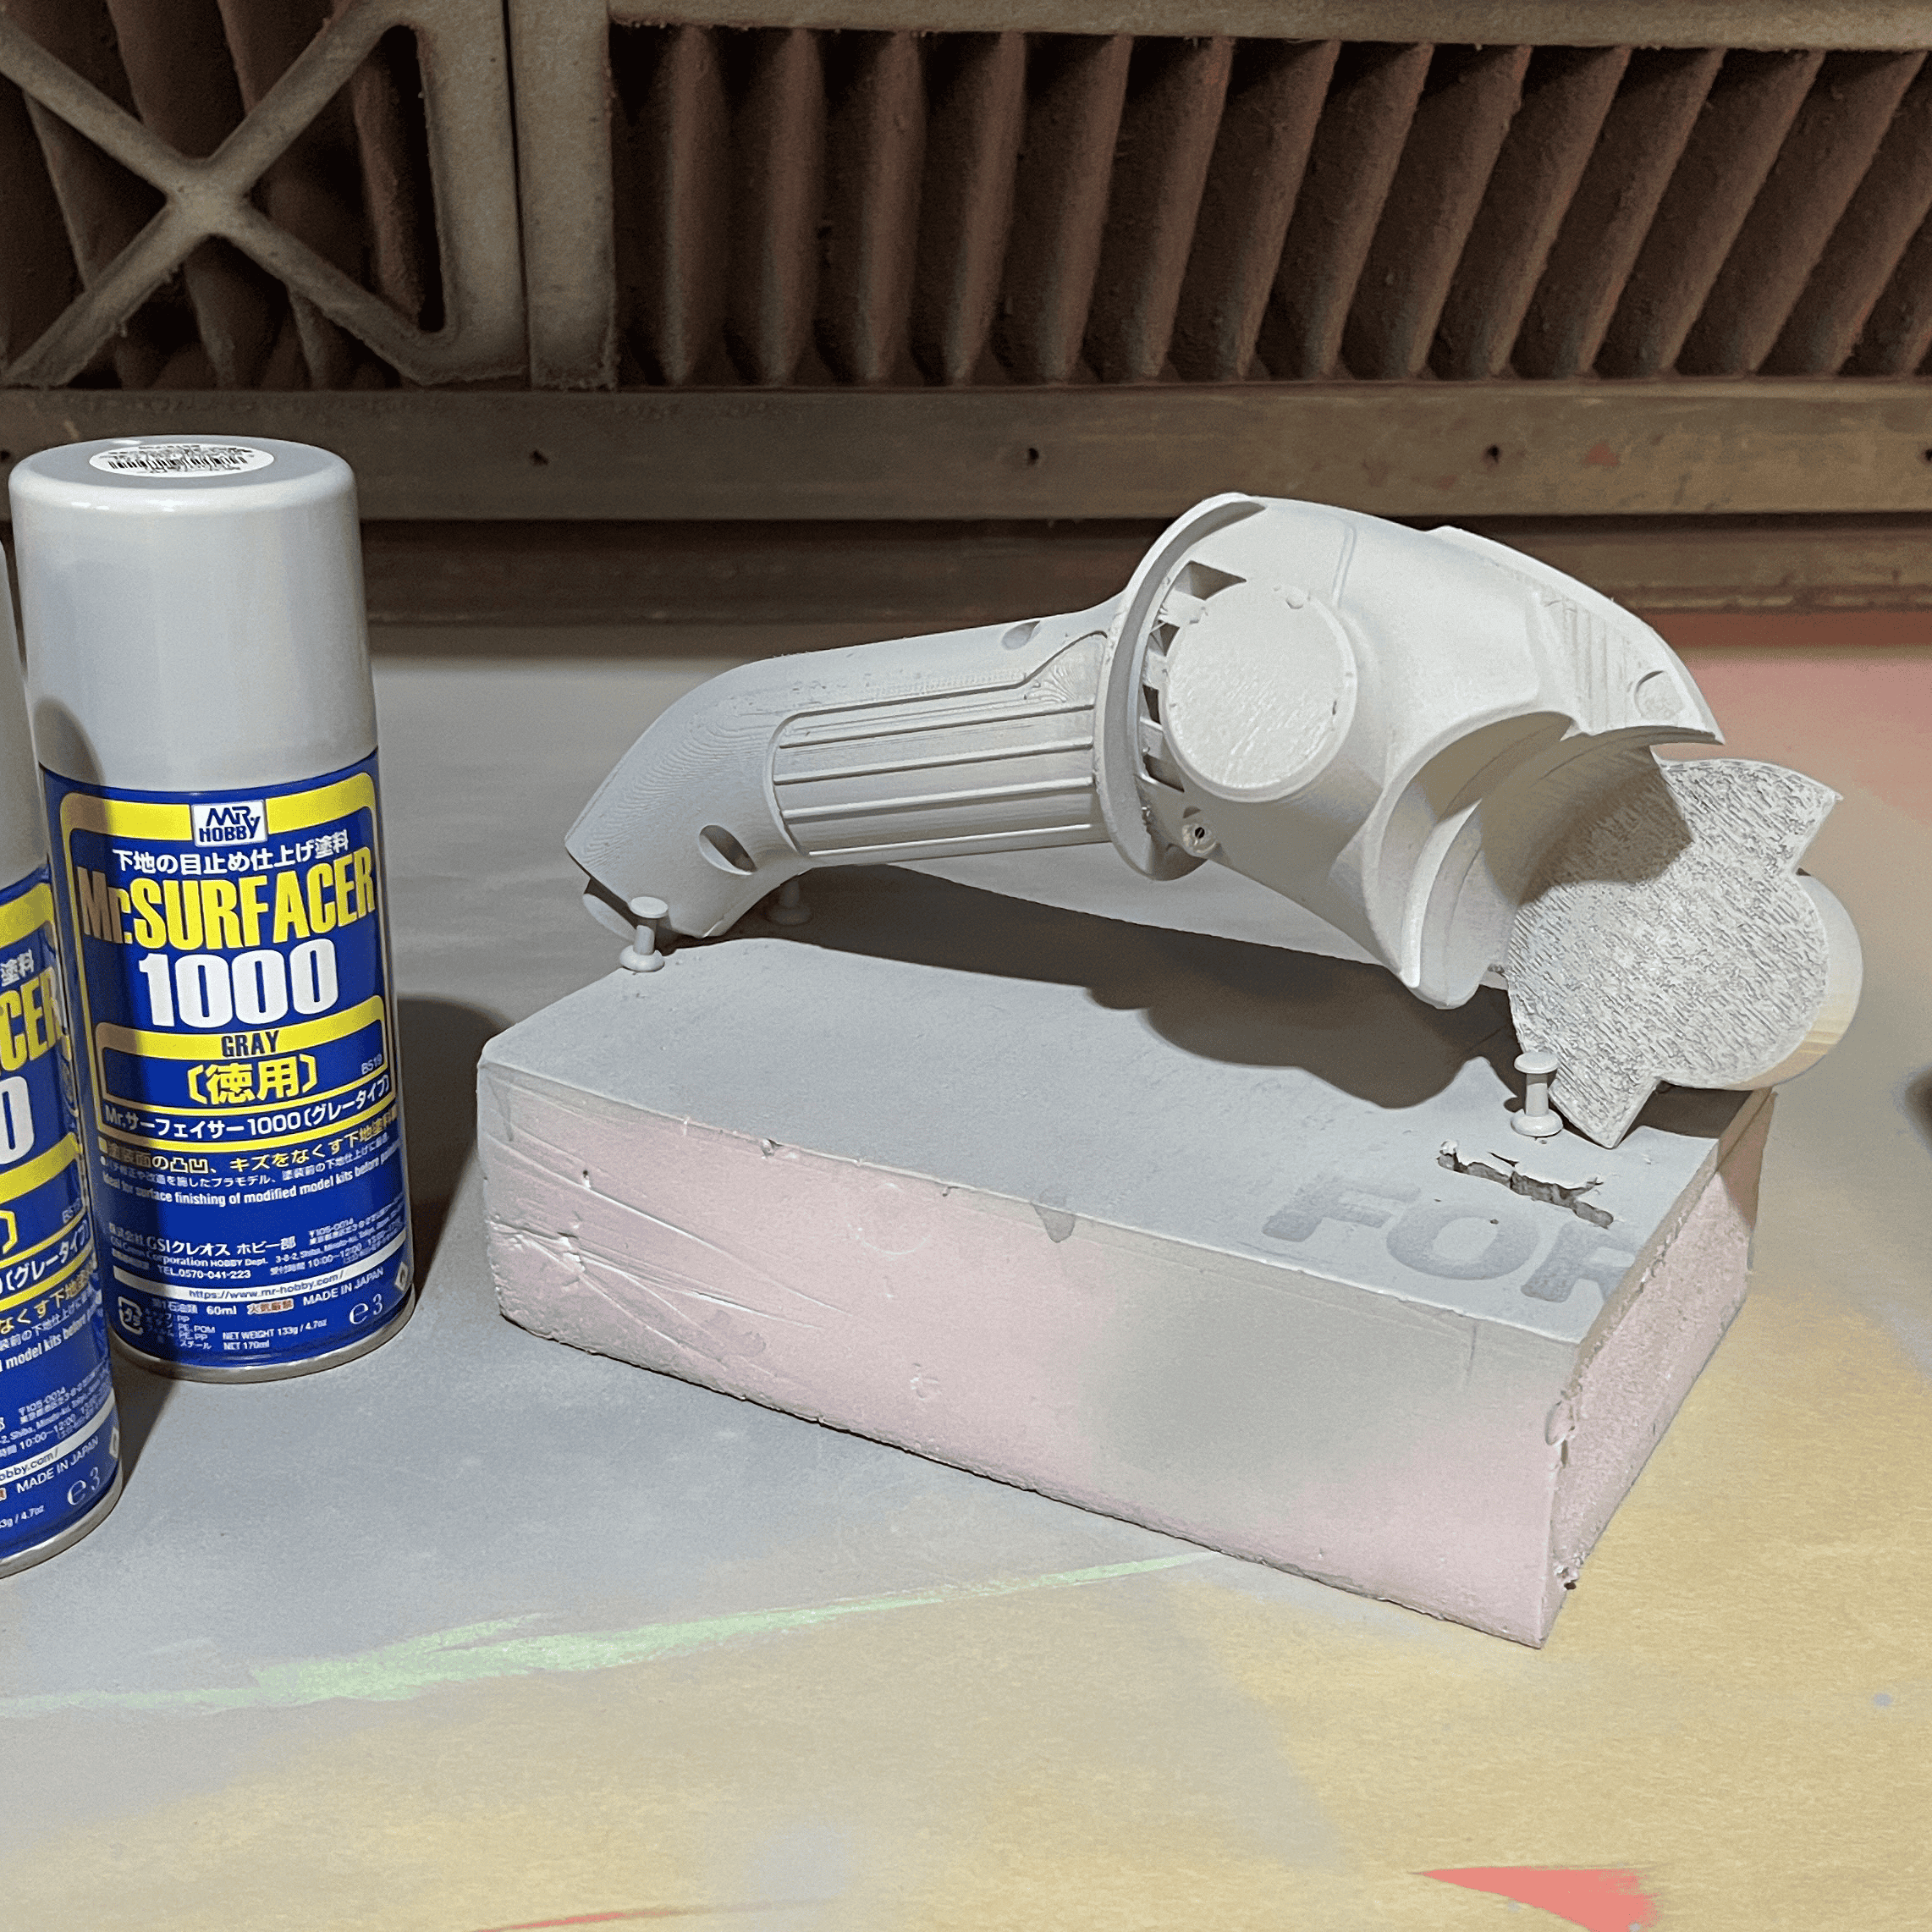
Model #15 - final form
3D-printed PLA and finished with surfacer and white lacquer paint: the final aesthetic direction of the plantar planer.
EXPLODED VIEW
The Plantar Planer's exploded components:
